Download
1 / 14
140 likes | 151 Vues
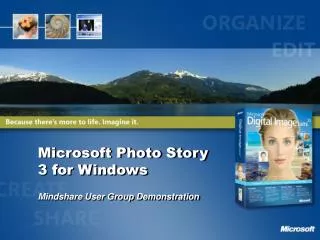
Photo Story 3 for Windows. An Introduction. What is Photo Story 3?. Photo Story 3 includes features that enable you to . . . Create a slideshow with your digital pictures Edit your pictures Create your story with music Add narration Share Photo Stories with your family and friends.

E N D
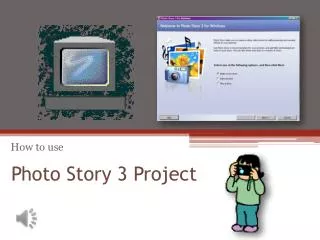
Photo Story 3 for Windows An Introduction
What is Photo Story 3? Photo Story 3 includes features that enable you to . . . • Create a slideshow with your digital pictures • Edit your pictures • Create your story with music • Add narration • Share Photo Stories with your family and friends
Overview This tutorial will enable you to create a video file, complete with sound, motion and text. All you need is still pictures! You may want to add music and narration – for this you will need headphones and a microphone.
Getting Started Photo Story allows you to use digital images that are saved on your computer or photos directly from a digital camera You are limited to 200 Images You cannot use digital video
Opening Photo Story To open Photo Story Click the windows button, click all programmes and select Photo Story Once the programme has opened Click Begin a New Story and then click Next
Importing Images To import images into Photo Story On the Import and Arrange you Pictures screen • Click the Import Pictures button • In the File Browser dialogue box select the images you want to use in the story (Tip) To add multiple images press and hold CTRL when clicking on the images
The Film Strip The Film Strip is the ideal place to alter and edit the images used in your Photo Story • Change the order of the images • Rotate the images • Adjust the colour • Fix red eye • Add effects
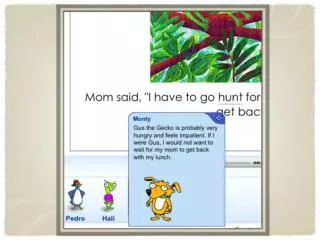
Adding Text To add text to an image On the Add a Title to Your Pictures screen • Type the text you want on the image in the box on the right • Click the Select Font button • In the Font dialogue box you can select the font, colour, size, emphasis and alignment This can be for as many images as you like
Custom Motion To add Custom Motion to an image On the Narrate your Picture and Customise Motion screen • Click Customize Motion • On the Custom Motion Box you will see your image twice. The Start and End Position. Set the start and end position • You may want to adjust the time the image is displayed for In this dialogue box you can also set the transition
Custom Motion The motion can be set by selecting the start and end position. The Number of seconds an image is displayed for can also be set
Adding Narration To add Narrate a Photo Story On the Narrate and Customise Motion screen • You can either write notes on a piece of paper or in the notes box under the record button • You can then press record and speak into a microphone
Adding Background Music To add Background Music to a Photo Story On the Adding Music screen • You can import a sound track you have saved on your computer • You can create music in the software
Previewing your Photo Story To preview your Photo Story Click the Preview button This will show you your progress so far
Saving you Photo Story When saving your Photo Story it is important to note that there are two types of save. • Saving the project – This will save your photo story in an unfinished state meaning that it can be edited next time • Save your story – This will finish the project and publish it as a movie/video file. Once this happens the project cannot be edited.