Download
1 / 8
80 likes | 225 Vues
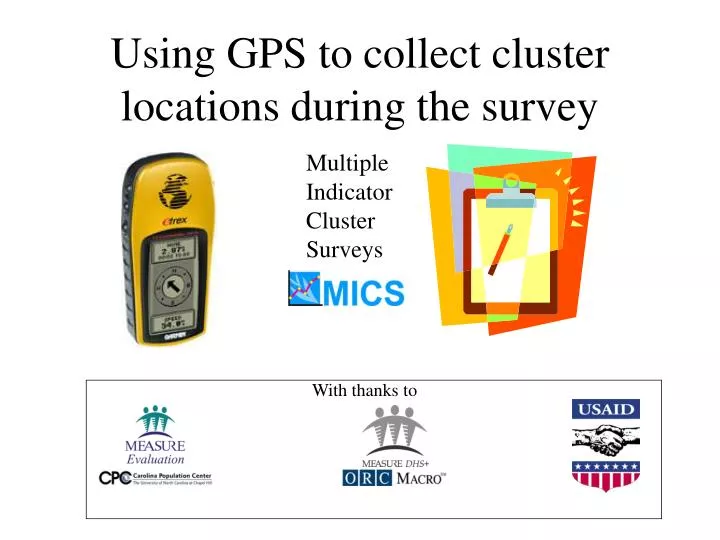
Using GPS to collect cluster locations during the survey. Multiple Indicator Cluster Surveys. With thanks to. Why use GPS to collect cluster locations. Permits linking of additional data to MICS data through geographic links E.g. Census data, facility data, other geo-located data

E N D
Using GPS to collect cluster locations during the survey Multiple Indicator Cluster Surveys With thanks to
Why use GPS to collect cluster locations • Permits linking of additional data to MICS data through geographic links • E.g. Census data, facility data, other geo-located data • Permits geographic grouping of data beyond region • E.g. Climactic zones, agricultural zones, etc. • Permits mapping of sample clusters • E.g. with DevInfo
How to use GPS • Select location • Activate GPS • Identify and mark location (“waypoint”) • Record location on form
1. Select the Point Collection Location • Find a place with a clear unobstructed view of the sky • First Choice: Geographic center of the populated settlement area of the cluster • Second Choice: Open area near the center, or on top of a building in the center
2. Activate Garmin • Turn on the Garmin. Once it has locked into enough satellites then press the Page button until you reach the MENU screen and select MARK.
3. Assign Cluster Number • Highlight the Waypoint ID • Enter in the Cluster Number Waypoint ID Coordinate
4. Complete GPS Form • Complete the GPS Form • Highlight OK and click Enter