Download
1 / 21
210 likes | 414 Vues
Microscopes. How are Microscopes Used?. Micro “tiny” – scope “to view” How big is a….. Can see substances or structures not visible to the naked eye Magnify very small objects (not just living things!) Identify and Compare species Measure size and compare. Word Bank. Eyepiece

E N D
How are Microscopes Used? • Micro “tiny” – scope “to view” • How big is a….. • Can see substances or structures not visible to the naked eye • Magnify very small objects (not just living things!) • Identify and Compare species • Measure size and compare
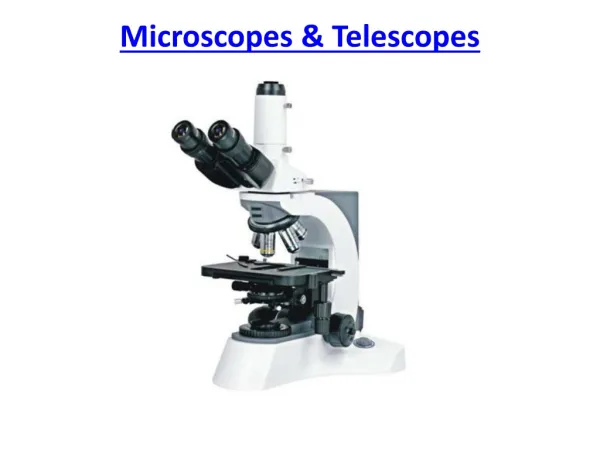
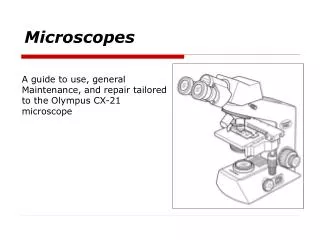
Word Bank • Eyepiece • Course Adjustment Knob • Diaphragm • Stage • Arm Support • Stage Clips • Base • Light Support • Nosepiece • Fine Adjustment Knob • Objective Lenses On your Microscope, Label the Parts of the Compound Light Microscope
Microscope Terms • Definition: clarity; how clear the specimen appears • Magnification: amount of enlargement of an image • Orientation: way in which something appears to be directed • Depth of Field: refers to layers, 3-D effect that is viewable by changing fine adjustment under high power • Width of Field: distance across the diameter of your field of view, used to estimate the size of a specimen • Micrometer: metric unit of measure • 1millimeter = 1,000 micrometers • Objective: degree of magnification Low = Med = High =
Steps to Storing a Microscope 1.) Turn off light and allow to sit for 5 min to cool down. 2.) Turn the stage all the way down. 3.) Return objective to low. 4.) Remove slide. Rest the stage clips on the stage. 5.) Loosely wrap and secure the electrical cord. 6.) Turn the ocular over the body tube. 7.) Cover the microscope with the jacket. 8.) Carry the microscope with two hands. 9.) Place the microscope in the closet with the ocular pointing out.
Steps to Focusing a Microscope(Know in Order!!) 1.) Turn light on and leave it on for as long as you are using the microscope. 2.) Align the slide on the stage and secure with the stage clips. 3.) Turn the ocular towards you by rotating the base, not the tube. 4.) Using the coarse adjustment, bring your specimen into view, and center it in your field. 5.) Adjust the diaphragm for the “best” lighting, not necessarily the brightest setting. 6.) Using your fine adjustment, sharpen your image (give the image definition.) 7.) Using the revolving nose piece, turn to your medium power objective. 8.) Using the coarse adjustment, bring your best image into view, center it, and turn the fine adjustment for definition. 9.) Turn the high power objective into place using the nosepiece. Using only the fine adjustment knob, fine tune your image. 10.) You may also want to change the light for a better image at this point.
What type of Microscope do I need to see….. • Chloroplast (organelle) • Cancer Cells • Water Flea • Virus • Muscle Tissue • Snowflakes
Measuring Using the Microscope We cannot just measure a specimen using a ruler, so we need to indirectly measure or compare the size to something we already know! Width of Field or Width of View WFLP = Width of Field Low Power WFHP = Width of Field High Power REMEMBER= Micrometer μm
Measure the WFLP Place the ruler on the stage so that it covers half of the stage opening and you can see markings 1. Make sure the ruler is centered at the center of the WF 2. What is the field of view in scanning power to the nearest in millimeters? GOOD
3. Switch to medium power and calculate the magnification. 4. You cannot measure the field for high-power, so you need to estimate…… Mag LP= WFHP Mag HP WFLP
Let’s try it #1… Ocular power = 10x Low power objective = 20x High power objective = 50x What is the highest magnification you could get using this microscope? If the diameter of the low power field is 2 mm, what is the diameter of the high power field in μm? If 10 cells can fit end to end in the low power field of view, how many of those cells would you see under high power? Mag LP= WFHP Mag HP WFLP
Let’s try it #2… Ocular power = 10x Low power objective = 10x High power objective = 40x What is the approximate width of the field of view in micrometers? What would be the width of the field of view under high power? If 5 cells fit across the high power field of view, what is the appropriate size of each cell?
Let’s try it #3… • Ocular power = 10x • Low power objective = 20x • High power objective = 40x • If viewed under low power, what is the approximate size of the cell in micrometers? • What would be the high power field of view? • How many cells like the • one in the picture could • fit in the high power • field of view? CELL 2000 μm
Drawing in the Lab Notebook Drawing # : Title Date: Total mag: Sig: Observations: WF(under total mag) # of specimen in field Each drawing should consume ½ a page in your notebook! cell
Making a Wet Mount • Carefully angle the cover-slip and slowly place on the specimen. • Water should NOT ooze out of the cover-slip • Do not drop the cover-slip on the specimen- avoid bubbles
Whiteboard Discussion • For the lowercase “a” drawing, what observations were you expected to make? • In completing the paramecium drawing, what did you find about comparing the actual size of the specimen when you moved from low to high power? Did the image change? Did the specimen’s numerical width change? • After creating the starfish development picture, were you able to relate the egg’s size to that of a different specimen in a different power (i.e. the paramecium in high power)? • When you observed the last slide, how did you decide what power to draw that specimen under?
What is on the test??? • Microscope parts and functions • How to properly store a scope • How to focus an image (steps in order) • How to draw a specimen • Which microscope should I use? • Microscopic Calculations • How to work and use the scope (what objective to use, how to draw, basically the lab)
It is all about perspective! Molecular Expressions: Science, Optics and You - Secret Worlds: The Universe Within - Interactive Java Tutorial