Download
1 / 7
70 likes | 82 Vues
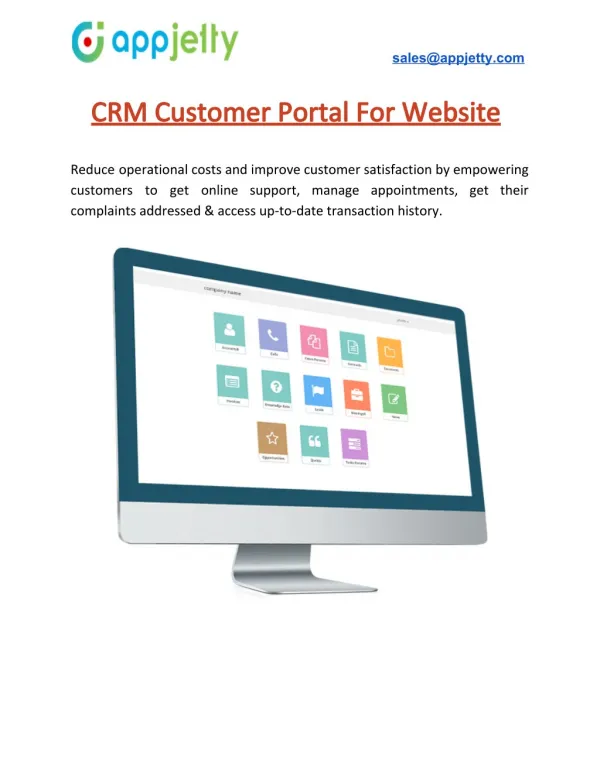
When it comes to configuring settings, you want a hassle free solution portal solution. Dynamics 365 WordPress customer portal from CRMJetty is one such solution.

E N D
How to Manage Configuration of Advanced Settings for Customer Portal Not all third party portal solutions for Dynamics CRM are made the same. At the end of the day, their functionality and ease of use as well as features decide which one to use. CRMJetty’s Dynamics 365 WordPress Customer Portal has some particularly neat features. On top of that, it is simple to configure and use, for both the admin users and the end users. Let’s walk through the steps to configure advanced settings in their customer portal. - Once the activation is successfully completed, navigate to the CRMJetty tile to access and setup various configuration for portal i.e. General Settings, Email Settings, Portal Layouts, Language Configuration and Roles. sales@crmjetty.com
- For unified interface, navigate to Dynamics 365 – Custom and from the bottom menu select CRMJetty. Upgrade Data: - To manage upgrades, we have upgraded a specific flow wherein if you have any older version of Customer Portal, then the Upgrade Data button will activate. For upgrading data, navigate to ‘CRMJetty -> General Configuration and click on Upgrade Data button. sales@crmjetty.com
- By upgrading data, you can make your portal compatible with the latest version of the portal. Setting General Accessibility for Portal Users: - For general settings, navigate to CRMJetty from the menu. - Mention the URL of your WordPress Account (i.e. Portal URL) which will be sent along with the credentials mail and click on the Save button. - Use Dropdown Caching to set up values of lookup fields (Related to other modules). Values displayed in lookup fields will remain old until it surpasses the time set here. - By enabling the Change Role of Hierarchy, you can change the role of hierarchy i.e. if the role of any contact is updated or removed, it will be applied to the whole child hierarchy. sales@crmjetty.com
- By enabling the Change Account of Hierarchy, you can change the account of hierarchy i.e. if an account of any contact is updated or removed, it will be applied to the whole child hierarchy. If it is unticked, and the account is updated then it will work as a separate entity from the hierarchy. Setting Email Template: - Admin can create any email template like Signup and Forgot Password template from CRM. - From templates, the user gets the option to create New template and also select template type. - Select email template type as Contact and create an email template filling the necessary requirement. details as per your sales@crmjetty.com
Note: Users can also assign default "Email templates" for various actions performed. - For assigning the default email template navigate to CRMJetty -> Email Settings. - Select appropriate email template and Save email settings. Assign User Role: - To manage the user roles, navigate to Settings -> Security -> Users. - Now select the users whose roles are to be managed and click on Manage Roles. This will open up a pop up to select roles. - To access CRMJetty product entities assign CRMJetty Customer Portal role to selected users. sales@crmjetty.com
Note: System Administrator will also be able to access CRMJetty Product Entities. CRMJetty’s customer portal is thus one of the easiest one to navigate in the market. The portal market is huge, but you have to find one that fits your workflow, your customers and your staff. Source: https://www.crmjetty.com/blog/how-to-manage-configure -advanced-settings-customer-portal/ sales@crmjetty.com