Download
1 / 10
100 likes | 116 Vues
This PDF contains a simple Photoshop tutorial to help bloggers be more creative with their blog. I will show you step by step how to create clipping mask for custom photo layouts and some artistic typography. If you want to have a unique, stylish, professional looking blog this tutorial can be a useful guide for you to get started with.

E N D
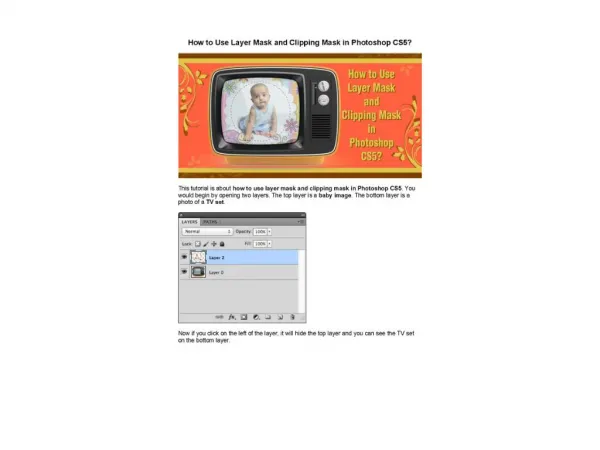
Creative Tips for Bloggers - How to Spice Up Your Blog Using Clipping Mask in Photoshop (Step by Step Tutorial from https://ephotovn.com/)
This PDF contains a simple Photoshop tutorial to help bloggers be more creative with their blog. I will show you step by step how to create clipping mask for custom photo layouts and some artistic typography. If you want to have a unique, stylish, professional looking blog this tutorial can be a useful guide for you to get started with. You will need an Adobe Photoshop software to get started. If you don’t have it, you can download a free trial here. Tutorial 1 - How to Style Your Typography Using Clipping Masks Step 1 - Open you Photoshop software and make a new document. If you are planning to use the graphics for web, “72” dpi resolution is highly recommended. Next, type in the words you want to use and design. On this tutorial I will be using “MY BLOG”. Step 2 - Next step is to create a new layer on the top of the text layer. On your photoshop top toolbar, click Layer > > New > > Layer. Or click the paper icon in the right bottom corner of the layers panel next to the trash can icon. After that you’ll have a transparent blank new layer where you can draw anything. 1
On the tutorial, I draw some scribbles with different colors using the brush tool. 2
Step 3 - Select or highlight the new layer with your drawing, then on the top menu toolbar go to Layer > > Create Clipping Mask. Or you can hover on the same layer, then right click on your mouse. You’ll see a popup with few options, select and click “Create Clipping Mask” option. 3
Step 4 - Be proud of your new artwork. You can also use a photo or another media graphic to clip on the top of the text. Like the sample below: 4
By creating a clipping mask, your text will take on the effect of the graphic or image you’re using, which makes your new text looks like this: Now you can use this to style your blog headers, banners and other graphic display on the top of your blog. Tutorial 2 - How to Use Clipping Masks for Photo Layouts In this tutorial, I will show you how to create a custom grid layout for photo collage. I will be using landscape and portrait rectangular shapes. You can also use these steps to create an image clipping masks to form any other shapes like circles, grids with few images and more. 5
Step 1 - In your left toolbar, use the rectangle tool to create a landscape rectangular shape. Please don’t mind the color of the shape since it won’t matter. Step 2 - Next, create more shapes. I will be using another rectangle but in portrait position. Then, copy this two shapes and place it in reverse position showing below: 6
You can do this by highlighting the first two layers (as shown on the screenshot above) and click “Duplicate Layer” again. Then drag those two new copied layers to the bottom then flip the position from left to right, so that you now have four rectangular shapes with different sizes and positions like the screenshot above. Step 3 - Now place a photo above your first shape. Make sure you place it above the shape where you want to clip your image. Like the image below: Like the text tutorial above, go to Layer > > Create Clipping Mask. If you want to reposition your image simply drag or move the photo layer around to the position you desire. 7
Step 4 - Do this to the other shapes you have created. Drag the photos you want to use for your grid template and clip each photo to the specific shape you’d like to display the image. So, here’s what I’ve got! 8
Hope this tutorial had help you! If you need any professional help for your image editing requirements like clipping mask, clipping path, background removal, photo retouching and many more - visit our website at https://ephotovn.com/. About Ephotovn Ephotovn is a company, based in Vinh City, Vietnam that provides background removal services, clipping path services, high end photo retouching and other image editing services to more than 3,000 satisfied clients and have processed 5 million images already. Contact us today and see for yourself the exceptional work that we do within a short turnaround time for a price that’s absolutely reasonable. 9