Rockspace Extender Setup
If you have any issues regarding your extender, you can contact our toll-free number ( 1-323-471-3045) or<br> email: support@mywifiextension.net<br>


Rockspace Extender Setup
E N D
Presentation Transcript
Rockspace Extender Setup Enter the local web URL re.rockspace.local for the Rockspace Extender Setup. After you install your Rockspace wifi range extender you will eliminate dead zones at your home and office. Here, we'll provide you with straightforward instructions to help you complete the re.rockspace.local setup process.
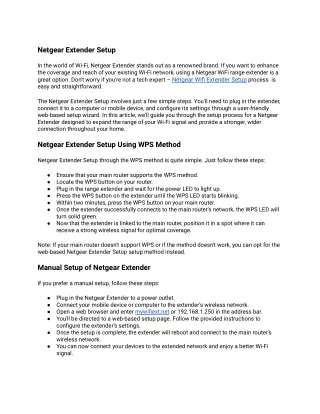
Manually configure the Rockspace WiFi Extender Rockspace Extender Setup Manually involves connecting to its default network and accessing its web-based setup page. follow these steps: • Plug in the Rockspace extender to a power outlet near your router. • Use a device (computer or smartphone) to connect to the default Wi-Fi network named "Rockspace_ext." • In the address bar of a web browser, type "ap.setup" or "192.168.10.1". • Enter the default login information (often "admin" for both the username and password). • Follow the on-screen instructions to configure the extender settings, including selecting your main Wi-Fi network and entering its password. • Once configured, save settings and reboot the extender. Please link your devices to the newly expanded Wi-Fi network. Ensure you've successfully set up your Rockspace WiFi Extender with manual configuration, ensuring it's strategically positioned to receive a robust signal from your primary router to maximize its performance.
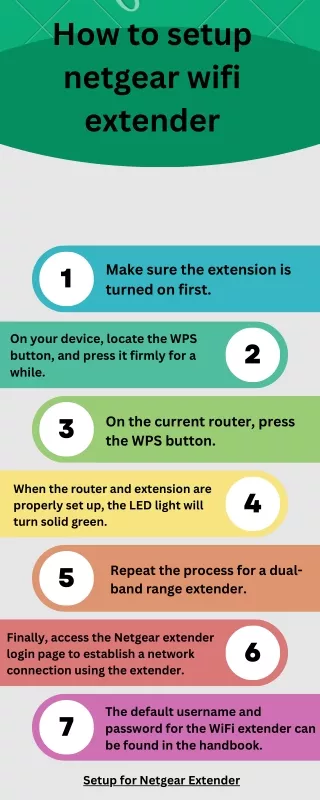
How do I set up Rockspace Extender using the WPS method? Rockspace Extender Setup using the WPS (Wi-Fi Protected Setup) method is straightforward. Here are simple steps for the WPS method: • Activate the WPS button on your Rockspace extender. • Within a couple of minutes, proceed to press the WPS button on your router. • The extender will automatically connect to your router. Wait for the LED to indicate a successful connection. • Now that the Rockspace extender has been configured using WPS, go ahead and link your devices to the extended wireless network. Your Rockspace WiFi Extender has been successfully configured using the WPS method and is now expanding the coverage of your Wi-Fi network.
Performing Factory Reset on Rockspace Wifi Extender Performing a factory reset on your Rockspace WiFi Extender will restore it to its default settings, erasing any custom configurations you've made. To reset the Rockspace Wifi Extender, follow the steps given below: • Find the Reset button on the extender (usually a small hole). • Take a paperclip or pin and push and hold the Reset button for about 10 seconds. • Take out the paperclip from the reset button when the LED lights start blinking. • The extender is reset to factory defaults. Follow the manual setup process to configure it again. Your Rockspace WiFi Extender has been factory reset, and you can now configure it with new settings or restore it to the previous configuration as needed.
If you have any issues regarding your extender, you can contact our toll-free number (+1-323-471-3045) or email: support@mywifiextension.net