Download

1 / 9
90 likes | 104 Vues
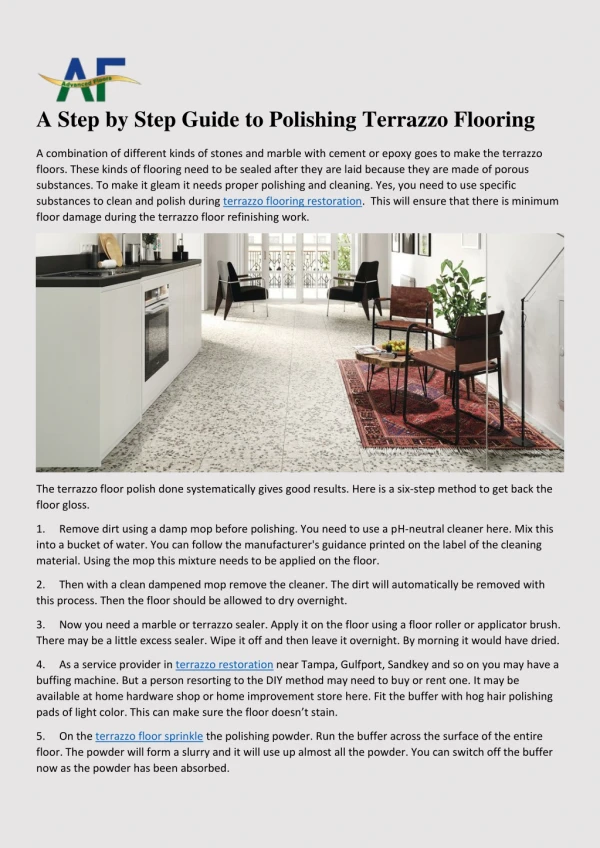
Laminate flooring is a popular solution for homeowners who want durable and low-maintenance flooring. Here is our step-by-step guide to help you install laminate flooring in your home.

E N D
Step-By-Step Guide to Installing Laminate Flooring Laminate flooring is a popular solution for homeowners who want durable and low-maintenance flooring. Here is our step-by-step guide to help you install laminate flooring in your home.
Prepare the Subfloor Before you can install laminate flooring, you need to make sure the subfloor is clean, dry, and level. Remove any old flooring, and sweep or vacuum the subfloor to remove any remaining debris. If you have a concrete subfloor, you may need to use a self-leveling compound to even out any low spots.
Lay Out the Underlayment Once the subfloor is prepared, it's time to lay out the underlayment. This helps protect the laminate flooring from moisture and provides a cushion for added comfort. Cut the underlayment to size and lay it out, leaving a quarter-inch gap around the edges of the room.
Start Snapping the Laminate Planks Together Once the underlayment is in place, it's time to start installing the laminate planks. Begin by laying the first row along one wall, leaving a quarter-inch gap between the planks and the wall. Use spacers to maintain this gap.
Continue Installing the Laminate Planks Snap the second row of planks into place, making sure to stagger the seams so that they don't line up with the seams in the first row. Repeat this process until you have covered the entire floor.
Cut the Laminate Planks to Fit As you get closer to the walls, you will need to cut the laminate planks to fit. Measure the space between the last plank and the wall, then use a saw to cut the plank to size.
Install the Baseboards Once all of the laminate flooring is installed, it's time to install the baseboards. Use a nail gun or adhesive to attach the baseboards to the wall, covering the gap between the flooring and the wall.
Enjoy Your New Floor With the baseboards in place, your new laminate flooring is ready to go! Give it a good cleaning and enjoy your beautiful, low-maintenance floor.
Conclusion By following these simple steps, you can install laminate flooring that is not only beautiful but durable and low-maintenance. Remember to take your time, prepare the subfloor properly, and use the right tools and materials for the job. With a little patience and effort, you'll have a stunning new floor that you can enjoy for years to come. Get in touch with AA Floors to shop for the best brands at the best prices. Browse our website now!