Create Your Own Yarn Printing Plate Using Contour Lines
This guide walks you through the step-by-step process of making a Yarn Printing Plate using contour lines and a transfer process. Begin by selecting an image that inspires you—be it from nature or art. Follow the instructions to create a line drawing, use a light board for tracing, and apply dark oil pastels to enhance your design. Prepare your sturdy cardboard, carefully transfer the lines, and secure your yarn with glue. Enjoy the artistic journey of creating detailed prints without any words, focusing solely on outlines and detail lines, suitable for various sizes!

Create Your Own Yarn Printing Plate Using Contour Lines
E N D
Presentation Transcript
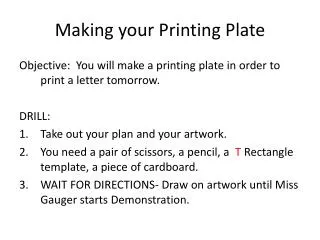
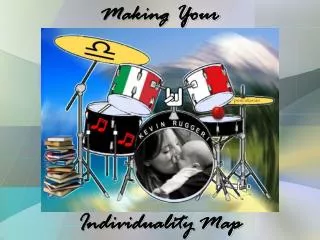
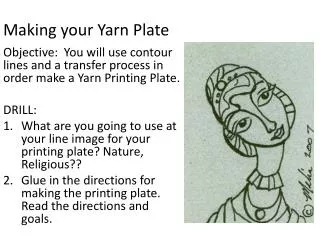
Making your Yarn Plate Objective: You will use contour lines and a transfer process in order make a Yarn Printing Plate. DRILL: • What are you going to use at your line image for your printing plate? Nature, Religious?? • Glue in the directions for making the printing plate. Read the directions and goals.
Directions for Making a String Printing Plate • Pick an image. • Draw line drawing on paper. • Label FRONT and BACK. • Use light board to trace image onto BACK. • Put dark oil pastel on FRONT. • Get a piece of thick cardboard and tape paper with the BACK up. • Transfer lines by drawing on them. Oil pastel will show through. • Cut yarn to fit your lines. • Use a good amount of glue so that it stays on the cardboard.
Goals for Line Printing plate • NO WORDS! • Contour lines • Which means outlines and detail lines, lines only. • You should look at a person, an artwork, an object, image, or design. • Think about size. Can be as big as a cardboard box. • Circle what you are going to draw! • Draw on blank copy paper. You will need a clean front and back.