Plaster Cornices Sydney
http://www.allplasta.com.au/cornices | Plaster cornices and ceiling cornices. Our ranges of plaster cornices and ceiling cornices are constantly growing. Call (02) 9627 6550.<br>

Plaster Cornices Sydney
E N D
Presentation Transcript
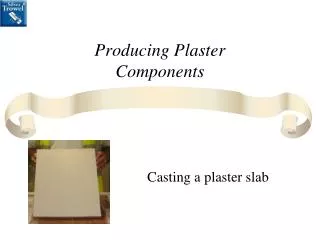
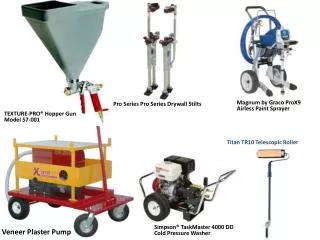
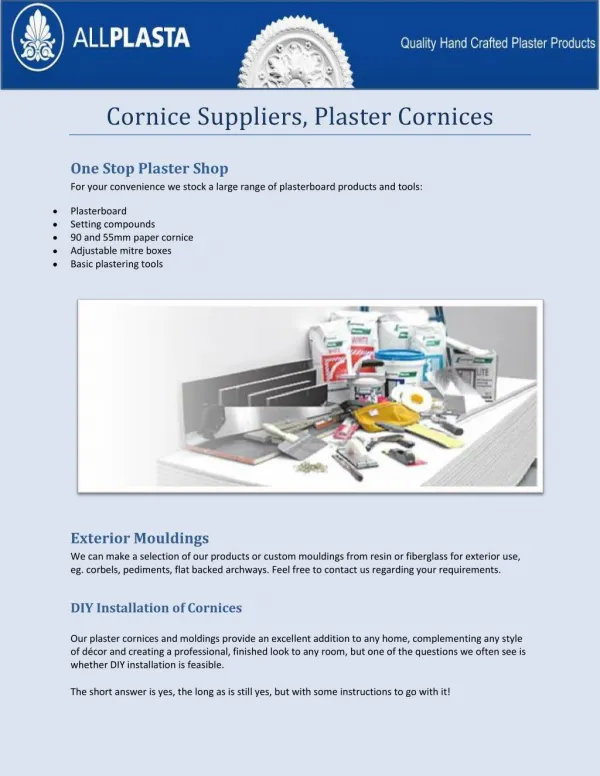
One Stop Plaster Shop For your convenience we stock a large range of plasterboard products and tools: Plasterboard Setting compounds 90 and 55mm paper cornice Adjustable mitre boxes Basic plastering tools Exterior Mouldings We can make a selection of our products or custom mouldings from resin or fiberglass for exterior use, eg. corbels, pediments, flat backed archways. Feel free to contact us regarding your requirements. DIY Installation of Cornices Our plaster cornices and moldings provide an excellent addition to any home, complementing any style of décor and creating a professional, finished look to any room, but one of the questions we often see is whether DIY installation is feasible. The short answer is yes, the long as is still yes, but with some instructions to go with it!
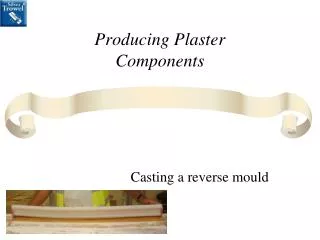
Before you start The first thing to do is get your tools together, don’t worry, you don’t need many: • Your AllPlasta Cornice • Cornice adhesive • Adhesive Spreader • Measuring Tape • Mitre Box • Fine Toothed Saw • Sponge Once you have them, it’s time to move on to installation. Fitting With everything measured up, cut, marked up and sorted, it is time to put up the cornice. Fitting it is actually straightforward, mix up some adhesive, spread a bead along the top and bottom edges of the back of the cornice, and along edges that meet other sections, such as the mitres. Do one piece at a time, mix and apply the adhesive, and simply press it into place. When you are happy with its position, leave it for around half an hour to set. For longer pieces of cornice it is possible to support it with temporary nails that you can knock in just below the bottom edge to hold it in place should sagging be a problem. Final Steps First take out any temporary nails if you used them, and smooth off the adhesive at joins and mitres before it fully hardens, you can clean the whole cornice down with a damp sponge to remove excess adhesive and ensure a good surface for decorating. And that is it! Cornices look great and are easy to fit, just a bit of care and planning required really, AllPlasta have such a huge range of cornices to choose from, there really is something for everyone, so what are you waiting for? Posted in DIY Installs Tagged install cornice http://www.allplasta.com.au