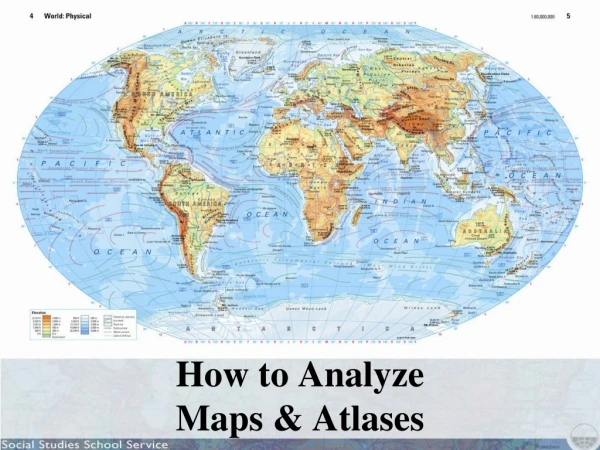
How to make maps
How to make maps. Click here to access speaker notes. Click on each slide to continue. Click on Mapmaker or “ Choose a topic ”. Or use the Homepage Select the Central West CMA. Choose a topic - Biodiversity. Select the “Vegetation map - detail”.

How to make maps
E N D
Presentation Transcript
How to make maps Click here to access speaker notes Click on each slide to continue
A map appears with a legend. The mapped vegetation is in the map sheet grid.
Functions are arranged into 5 tabs on the right, and the tools on the left
Sections Make a map 1 Change the map area 2 Query layers 3 Add layers 4 Print or save 5 Edit map layers Tip: Follow the arrow for direction
Change the map area Zoom Pan Find a place Locator map
If you make a mistakewhichever method you use clicking onUndo will return to the previous map. the NSW button will return to NSW map
Select the “Zoom in” tool and draw a box outlining your new map size
ZoomZoom in further to view more detail by drawing another box on the map.
Locator MapDraw a square in the locator map to change the view
Sections Make a map 1 Change the map area 2 Query layers 3 Add layers 4 Print or save 5 Edit map layers Tip: Follow the arrow for direction
Query layers Query the map layer View the map layer’s description and contact details
Query layersClick on the 2 info buttons are highlighted
Query layersClick on a coloured polygon to view info about the selected area
MetadataClick on the dataset title to view map layer descriptions and owner details
MetadataClick on the metadata link to view more detail and owner details
Sections Make a map 1 Change the map area 2 Query layers 3 Add layers 4 Print or save 5 Edit map layers Tip: Follow the arrow for direction
Add map layers Adding map layers to your current map.
Add map layersClick on “Add layer” for “Soil profiles” and “Soil profiles - Salinity”
Add map layersLayers appear in the shopping trolley on the right. Click on to add it to your map.
Sections Make a map 1 Query layers 2 Add layers 3 Change the map area 4 Print or save 5 Edit map layers Tip: Follow the arrow for direction