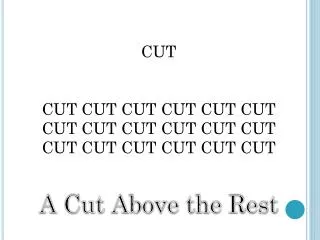
LINO CUT
LINO CUT. By Murtaza Hasan . What is a lino cut ?.
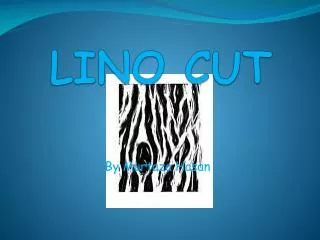

LINO CUT
E N D
Presentation Transcript
LINO CUT By Murtaza Hasan
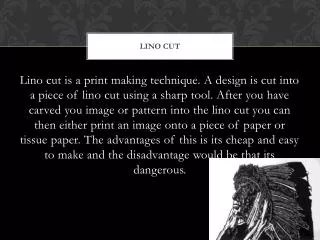
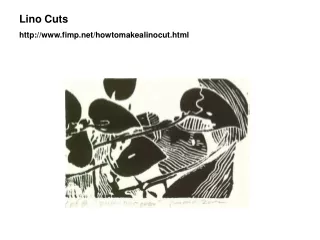
What is a lino cut? • lino cut is a printmaking technique in which one craves on a piece of linoleum and later on adding color to and printing it on a piece of paper. This linoleum as a floor covering dates to the 1860s, the linocut was invented by the artists of Die Brücke in Germany between 1905-13. At first they described their prints as woodcuts, which sounded more respectable. In this presentation I will show the various types of ways to make a lino cut yet the most simplest way of making a lino cut is as presented in this presentation.
The requirement. To make a lino you need the most important thing, your picture. Your image that you wish to print on your lino cut. So the items one requires to make a lino cut are: • Linoleum. This is the sheet of paper or the thing that you draw on. • Non slip mat. This mat will avoid your lino cut to slip and injuring yourself. • Carbon paper. With this you can trace your image on to the linoleum and with a marker it makes it easier for one to cut their linoleum out. • You require a chisel. Chisel is What You use to cut the linoleum by sliding It away. Remember to always slide It away from yourself. Having ones with various thickness and size might help at points. • Ink. Which color would you personally prefer and would That attract your client. With the Ink one also requires a roller and a press to print the image on to your sheet.
My design. My design was about a childhood object. My little brother who always wanted to know aboumy chilhood ever since, therefore i am making this linocut for him. The design is from a toy of what he always loved and played with in his childhood times. I came up with the idea in arts class when we were designing or creating our own childhood linocut. For this i obvoiusly needed my toy and try to avoid my little brother to catch me with it. Its still in my locker but i think sometimes i still need it.
Planning. • Planning out how to make the linocut might have been one of the most mind showering moment of the whole process. I had made four different designs and had to chose one of them. Me being a pretty good at drawing I had problems to chose which one really to make as a gift for my brother. • For my plan I had to think of all the things required. When will I start the lino cut I had a rough plan sketched out and the whole schedule was to go like this. • Day 2 November 13: we had (Tamas and I) gone down to the arts department to create a lino cut tutorial (pictures) and create a pizza slice lino cut. We were also surfing through the internet trying to find a proper image a friendly one to printand we chose a pizza slice.
Day four of the process: started to finalize the product and solve any problem there is. We had made the product and were sort of happy with what we made. The main problems were that there was the cutting bit but then we were able to fix that. • Day 5: wrote some of the evaluation and made sure that I have everything done and ready to hand in. • Day 6: started the power point. I purposely started the next day so that on the 5th day I could have everything done and then start the power point. We had problems today that were concerned with uploading videos and some pictures. The end of the day Tamas had gotten it fixed and also fixed it for me.
Create. • The create process was the final thing I had to worry about which is the stage I have to present to my client and talk about what i had designed and what does this represent.