Download
1 / 29
290 likes | 314 Vues
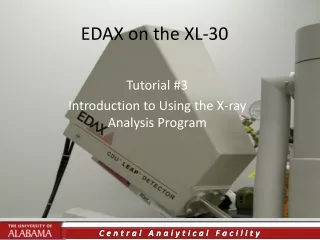
Tutorial #3 Introduction to Using the X-ray Analysis Program. EDAX on the XL-30. Remember Purpose.

E N D
Tutorial #3 Introduction to Using the X-ray Analysis Program EDAX on the XL-30
Remember Purpose • Purpose of these tutorials is to enable the user to understand the basics of OPERATING the XL-30 to obtain Secondary Electron and Back Scattered Electron Images, and to obtain an Energy Dispersive X-Ray Spectrum. • Very little theory is given. • If the user’s requirements demand further instruction, he or she should seek further formal instruction.
Assumptions • This tutorial assumes that you have reviewed the previous tutorials; • That you are familiar with and competent to use the XL-30 SEM; • You have a sample loaded in the SEM chamber; • You have the SEM operational.
Working Distance for EDS • The optimum analytical working distance is 10 mm. This means that you sample should be in focus at a 10 mm working distance.
Start the EDS (DX) program • Always start the XL-30 microscope control program before the EDS program
Collect a spectrum • Place the beam where you want to collect of spectrum. • If it is from a spot you will need to use spot mode in the Microscope Control. • I find it easier to control the beam using the XL-30 microscope control program than to try to control the beam from the eDX program. • If you want to scan an area to collect a spectrum, scan on the area you wish to collect from.
Menus and Buttons • The next slides will give a quick overview of the menus and buttons on the graphic interface. • REMEMBER – IF YOU NEED MORE INFORMATION START WITH THE HELP FILES.
Options, Window, and Help Menus • There is only one option – SEM • Windows menu is self explanetory. • Help Menu – see this for more information.
That’s all • You are less likely to use the other pages, but feel free to explore. • To start, I suggest that you analyze some samples that you know the composition. That way you can tell if you have a problemor not.