Enhancing PowerPoint Tables for Interactive Class Schedules
Learn to transform your table layouts for improved visual appeal and functionality in PowerPoint. Modify text direction, add backgrounds, and highlight selections for an engaging presentation. Master the design tools for seamless customization.

Enhancing PowerPoint Tables for Interactive Class Schedules
E N D
Presentation Transcript
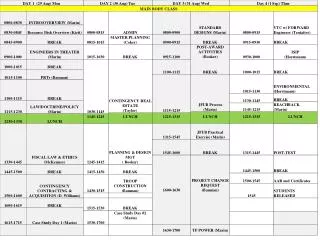
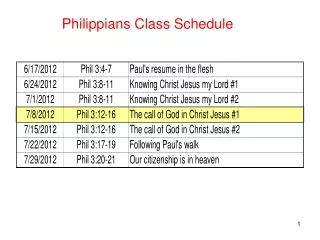
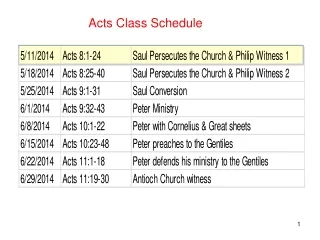
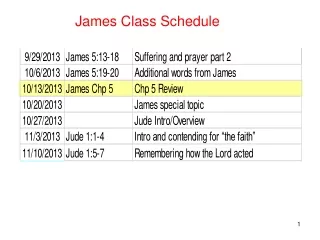
Before: Header Row (Mon...Fri) appears in a horizontal position After: Header Row (Mon...Fri) appears in a vertical position. Use: Table Tools - Layout – Text Direction – Rotate all text 270 degrees
Before: Table appears based with default colors. After: Table is cleared of all colors . This allows a picture to be inserted later as the TABLE BACKGROUND. Click on entire table. (Use cross-hair pointer at corner of table) Use: Table Tools - Design – Table Styles – More – Clear Table
Before: Table is cleared of all colors. After: A picture is added as TABLE BACKGROUND. Click on entire table (Use cross-hair pointer) at corner of table. Use: Table Tools – Design – Shading – Table Background – Picture - <click on a downloaded picture of your choice>
Before: Indicate favorite subject with an oval (from Home – Drawing Group (Toolbar) – Oval shape drawn over subject. After: Table shows selected favorite subject(s) with transparency of oval shape changed . After: Right-click on drawn shape. Format Shape – Transparency – 100 percent