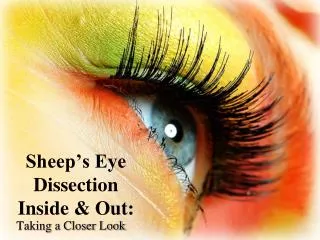
Eye Dissection
Eye Dissection. D. Crowley, 2008. Safety. You’ll be using a scalpel to cut the eye, which can just as easily cut you! Handling raw meat can be dangerous – wear gloves, and wash hands thoroughly afterwards. Eyes.


Eye Dissection
E N D
Presentation Transcript
Eye Dissection D. Crowley, 2008
Safety You’ll be using a scalpel to cut the eye, which can just as easily cut you! Handling raw meat can be dangerous – wear gloves, and wash hands thoroughly afterwards
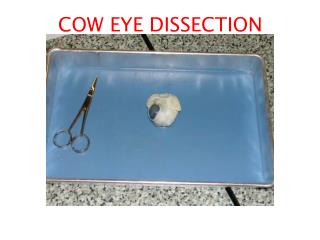
Eyes The eyes have come from the butcher shop – the animals have not been especially killed for this dissection If you wish to try this at home, most butchers can accommodate getting eyes. Try to get eyes with the muscles and fat still attached, and if possible pick the eyes the day of the dissection – they are easier to cut when fresh Remember to think about all safety aspects…
Examination • Notice the sclera, the tough outer covering of the eyeball; the fat and muscles surrounding the eye; the cornea (covering at the front of the eye) – this would have been clear when the animal was alive; the pupil (the dark oval in the middle); and the iris (the coloured part of the eye) Firstly examine the outside of the eye
Fat & Muscle Cut away the fat and muscle
Incision Use the scalpel to make an incision in the cornea (be careful)! Cut until the clear liquid is released (aqueous humour) which keeps the shape of the cornea
Sclera Make an incision through the sclera in the middle of the eye
Cornea • The cornea is pretty tough – it helps protect your eye, as well as helping in seeing by bending the light that enters the eye • Now cut the cornea (listen for the crunch) Using scissors cut around the middle of the eye, cutting it in half – on the front will be the cornea
Iris Pull out the iris (lies between the cornea and lens) – it may be stuck or may have stayed with the back of the eye Notice the hole in the centre of the iris – that is the pupil which lets light into your eye (the iris contracts or expands, changing the shape of the pupil depending on the light conditions)
Viterous Humour The back of the eye is filled with a clear jelly – the viterous humour (helps maintain shape) Remove the lens (a clear lump)
Lens The lens feels soft on the outside, and hard in the middle – hold the lens up and look through it… Be careful, they are quite delicate!
Retina • Before the dissection the viterous humour pushed against the retina so it lay flat on the back of the eye (in may now be in a wad) • The retina contains cells which detect light, which then send the messages to the brain Empty out the viterous humour and you should notice some blood vessels that are part of a thin fleshy film – this is the retina
Optic Nerve The retina is attached to the back of the eye at one spot – this is where all the nerves from the cells meet, going out the back of the eye (the optic nerve) The spot where the retina is attached is the blind spot (no light sensitive cells are here, so any light which lands here cannot be seen)!
Tapetum Under the retina the back of the eye is covered with shiny blue-green material (the tapetum) which reflects light from the back of the eye (shine a light at a cat during the night and the cat’s eyes seem to glow - this is the tapetum reflecting the light)
Optic Nerve Look at the other side of the back of the eye – locate the optic nerve Pinch the optic nerve with scissors to separate the fibers (squeezing the nerve may cause myelin (fatty layer) to come out)
Clean Up Place all material in the plastic bag, as well as gloves and tissues Wash the desk thoroughly, followed by your hands (make sure you use the disinfectant)
Online Follow this link for an online dissection… Eye Dissection