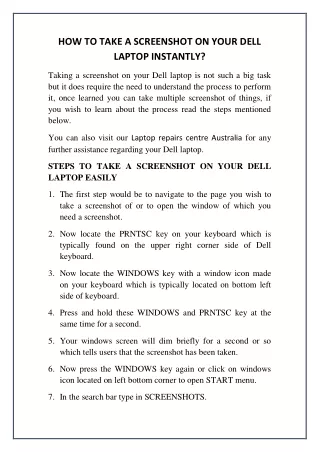
Easy Steps to Take a Screenshot
90 likes | 207 Vues
Learn how to take and edit a screenshot easily with these step-by-step instructions. Capture your screen, crop the image, and save it for use in various applications!

Easy Steps to Take a Screenshot
E N D
Presentation Transcript
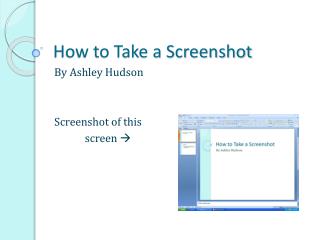
How to Take a Screenshot By Ashley Hudson Screenshot of this screen
Step One: • Make sure that everything you want to make a screenshot is in view on your computer screen. • Once everything is visible, press the Print Screen key. Sys Rq
Step Two: • Open up the Paint program under the Accessories bar in the Start Menu. • Then, copy the screen you printed into Paint. You can do this by pressing Ctrl+V at the same time, or by going to the tool bar, click Edit and then select Paste.
Step Three: • To crop your image, choose the “Select” tool from the left hand column. • Make a box around the section you want to show on your website, PowerPoint, or other document. This is called “cropping.”
Step Four: • After you have made your selection, when you let go of the mouse button, you are able to move the piece of the picture that you selected. Move that to the very top left corner of the program.
Step Five: • Now you can get rid of the rest of the picture that you don’t want around your selection. Go to the very bottom right corner of your image and move your mouse until you get the double end arrow to show up. You can move that until it’s right around the picture you want. Go to the next slide to see a picture.
Step Six: • Next, save your image by going to File, Save As… and save it in the appropriate folder. You can also save by pressing Ctrl+S.
Step Seven: • Insert it into your Nvu website or PowerPoint by simply clicking Insert, then Picture, and selecting the file in which you saved your image.