Clickers
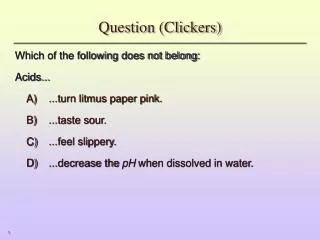
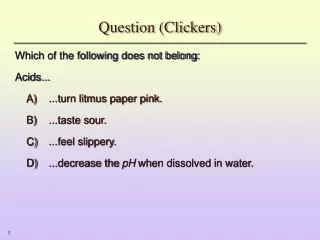
Short for Classroom Performance System. Clickers. Help yourself to treats. Please pick up a clicker from the desk by the door. Please Sign in. This is the icon you will see for the classroom performance system. Create a new database.

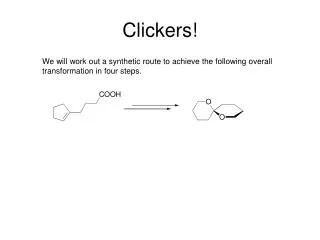
Clickers
E N D
Presentation Transcript
Short for Classroom Performance System Clickers Help yourself to treats Please pick up a clicker from the desk by the door Please Sign in
This is the icon you will see for the classroom performance system.
Create a new database. You may create more than one if you have more than one grade level or subject. Click ok
Title your database. I used “example “ for this demonstration. Click save
Click on Prepare tab and then the class and students tab. Click new tab
You will see this screen before you can name a class. Of course you want to click k-12. Click next You have to fill out the following information for each database.
I do not use cps online. I have always clicked no. If you click yes there is a link you can click to learn more about CPSONLINE.
Give your class a name. Click next twice
You will want to make a class for every period. Click done. Add students.
Add a student. Type in first last name. Pad Id number will automatically progress. They will use the same clicker number each time clickers are used.
This is also the screen to edit or delete students or classes. Now move to prepare a lesson
Two ways to add a lesson. Easy – fast grade lesson More involved - add files
Title lesson Choose answer choices My clickers are able to do numbers as well as letters. If you have the letter only clicker you may not have this choice. Click ok
I use mc4, numerical, and mc 10 the most. MC 4 AND MC 10 just click your answer and it will progress to the next question . Numerical you have to type answer in box and click add each time
Click the box in front of the lesson Make sure you are in the period you want. Two choices : push engage – it automatically goes to teacher led Assessment setup – student paced Each choice will bring up a different screen
Teacher led – everyone answers the same problem at the same time Student paced – each student can be on a different question. When you end answers are saved in a report. Students click in their answers and push send
Report tab Click on lesson Click on generate Choose report I liked these: Instructor summary Question grid export
Mistakes happen - The students clicked in the wrong answer or I typed in the wrong answer. Click on lesson and then edit. This window pops up Choose re-grade question or re-grade student. Depending on the problem Reports will keep accumalting, the last will be on top
Re-grade question – Just change the answer. Click Ok. Scroll over to omit
The check mark means the student has a right answer. Click on the box to make the question right. Click ok (bottom right)