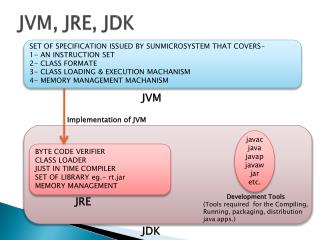
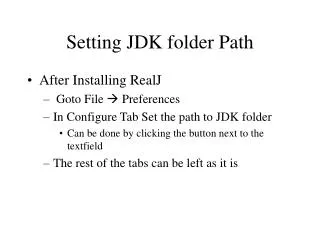
Setting JDK folder Path
Follow this step-by-step guide to configure the JDK in RealJ after installation. Begin by navigating to File → Preferences, then set the path to your JDK folder. Create your first Java application by selecting File → New, and entering your Java code in the source window. Don't forget to save your file with the same name as your class. Add your source files to a new project, set the main file, and compile your code. You can run your application with Build → Run Application or by pressing F5. Note: Avoid using Java 1.4 for better compatibility.

Setting JDK folder Path
E N D
Presentation Transcript
Setting JDK folder Path • After Installing RealJ • Goto File Preferences • In Configure Tab Set the path to JDK folder • Can be done by clicking the button next to the textfield • The rest of the tabs can be left as it is
Creating an Application • Goto File New • Select java Source File and Click Ok • Now enter the java code in the window • After entering the entire code • Goto Filesave • Enter the filename(Same as class name)
Creating an Application (Contd.) • Goto Project New Project • Enter a name for the project • Again Goto Project Add Java Source Files • More than one file can be added to one project • In this select the file that was just created and saved • The selected file appears on the left hand side • Select that file • Right Click Set as main
Compiling and Running • Compiling • Select the file name to be compiled(the one on the left hand side) • Right click Compile • The error messages will be displayed in a new window at the bottom • Running the Application • Goto Build Run Application (OR) just press F5 • Output is displayed in the same window at the bottom
Points to note • Kindly don’t use java 1.4 as I had some discrepancies while using it with RealJ. • At some systems it works and at some it doesn’t. • It’s a better practice to not run programs with RealJ as you • cannot supply inputs through Keyboard • Inputs can be given only as command line parameters