
Saxophone Neck Cork Replacement
E N D
Presentation Transcript
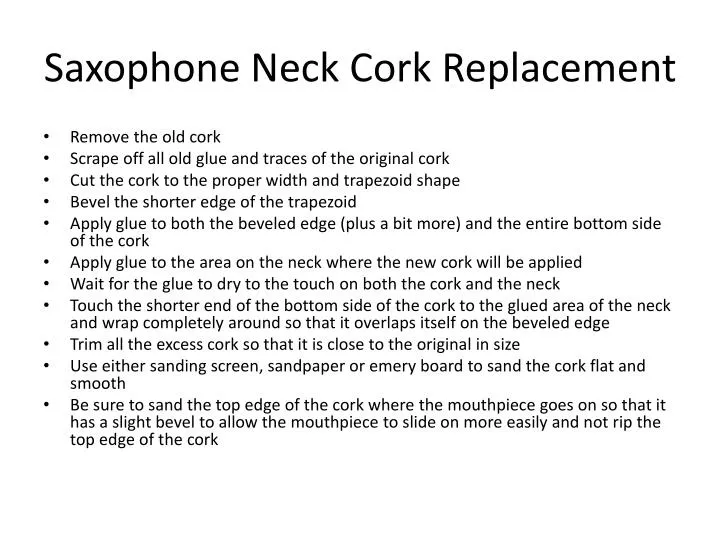
Saxophone Neck Cork Replacement • Remove the old cork • Scrape off all old glue and traces of the original cork • Cut the cork to the proper width and trapezoid shape • Bevel the shorter edge of the trapezoid • Apply glue to both the beveled edge (plus a bit more) and the entire bottom side of the cork • Apply glue to the area on the neck where the new cork will be applied • Wait for the glue to dry to the touch on both the cork and the neck • Touch the shorter end of the bottom side of the cork to the glued area of the neck and wrap completely around so that it overlaps itself on the beveled edge • Trim all the excess cork so that it is close to the original in size • Use either sanding screen, sandpaper or emery board to sand the cork flat and smooth • Be sure to sand the top edge of the cork where the mouthpiece goes on so that it has a slight bevel to allow the mouthpiece to slide on more easily and not rip the top edge of the cork
Some people try to keep using their sax neck cork much too long. All the old cork (and tape when used) plus any old glue.
Make sure to scrape all the old cork and old glue so the place where the new neck cork will go is bare metal.
Cut the new cork in a trapezoid shape with the short end the correct length to fit on the sax neck.
Cut a bevel along the short edge of the trapezoid shape.
Apply glue to the to the flat bottom side of the cork and to the beveled edge (plus just a bit past the bevel) as well as the exposed part of the sax neck, .
Start to attach the cork to the neck by touching the short edge of the cork to the neck. Notice the glue on the top side of the cork where the bevel is and just beyond it so that when the cork wraps around and overlaps the bevel it will stick well.
Wrap the cork around using uniform pressure to ensure that the cork adheres to the neck all the way around.
Wrap the cork around over the bevel and make sure it sticks to the bevel and just past it so that it will be secure.
Notice how far the cork overlaps Beyond the beveled edge.
Trim the cork so that it is level With the end of the sax neck And then cut off the loose end Of the cork that sticks out Beyond the overlap with the Beveled edge.
Use sanding screen, sandpaper or emery board to bevel the top edge of the cork as well as smoothing the area where the cork wrapped over itself on the beveled edge. Notice the faint line Where the cork is cut At the overlap.
Notice the evenness of the cork around the end of the neck. This is ready to go now.
When the cork is sanded to the correct thickness the mouthpiece will slide on between half and 2/3 of the way. The cork should have resilience to allow the mouthpiece to be only 1/4 of the way on if necessary but also allow the mouthpiece to be pushed on almost all the way when needed.