WordPress Basic Training
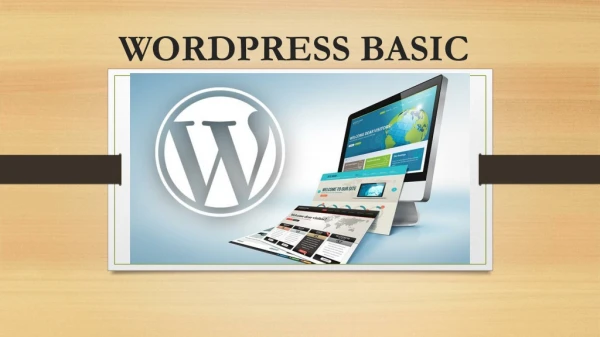
WordPress Basic Training. Purdue University Calumet April 2014. What We Will Cover. WordPress – Brief Overview From Login to Logout Basic Editing Tasks Creating / Revising Content Adding Images & uploading documents Creating Links Creating data tables Terminology.

WordPress Basic Training
E N D
Presentation Transcript
WordPress Basic Training Purdue University Calumet April 2014
What We Will Cover • WordPress – Brief Overview • From Login to Logout • Basic Editing Tasks • Creating / Revising Content • Adding Images & uploading documents • Creating Links • Creating data tables • Terminology
What About Accessibility? • Seamless integration • Documents • MUST be accessible BEFORE they are uploaded • Support is available with quick turnaround • Resource: Web Accessibility Web site
A Word About Browsers • Internet Explorer is a Diva • Compatibility Mode • Different versions behave differently • Editing issues crop up • You can choose another • Mozilla’s FireFox • Google’s Chrome
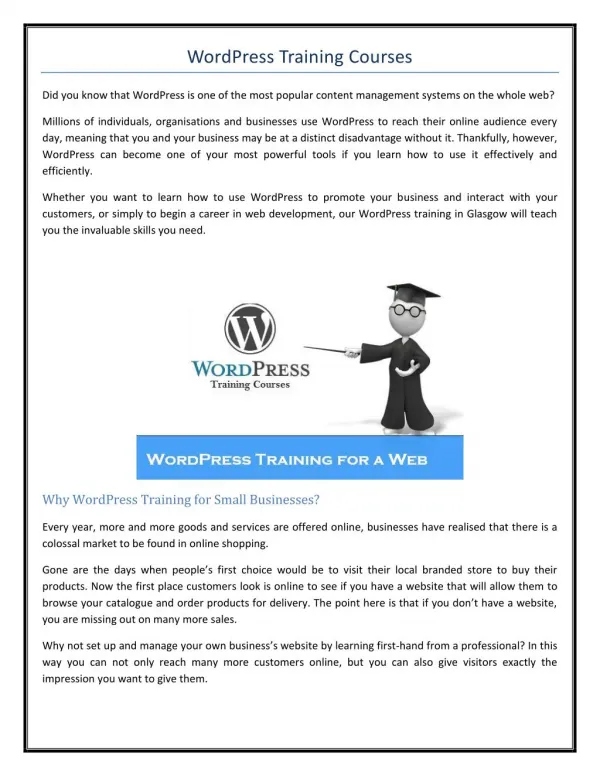
Why WordPress? • Started out as blogging platform • Now a full-fledged Content Management System (CMS) • Lots of features, plugins • Customizing • We can make it sing!
Content is Key (King? Queen?) • What you put on your site matters! • Who is your audience? • Current or Future Students? • Faculty & Research Scholars? • Alumni and Donors? • Regulators? • How can you best serve them?
Questions to ask yourself about Your Content • Who is responsible for creating this? • What type of content are we publishing? • When will we publish this content? • Where will we publish it? • WHYare we publishing this?
Posts & Pages & Media Posts Pages Static Content Changes rarely if at all Non-Relational Except for Parent / Child Not Grouped • Time-based Material • Keeps updating • Transient • Relational • Series of tutorials • Part of Groups • Categories • Tags Media • Images, documents, multimedia • Attachment pages
Logging In • http://webs.purduecal.edu/yoursite/wp-login.php
Admin Toolbar • Front side • Back end
Your Workspace • Customize Your Workspace • Profile • Color Scheme • Nickname • Password • Dashboard • Screen Options – • On almost every page • Context
Profile • DON’T check this box! • Adjust Color Scheme • Nickname – sometimes appears on front end • Password
Back to the Content! • You now have the basic lay of the land • You have been given some content to add • What’s next? • Think about the content! • (And think about your audience!)
Structure / Presentation • How Content is structured / organized • Should it be a Post or a Page? • What does it contain? • text, • photos • Proper use of headings, lists, tables (for data only!!!) • How do we present it? • Styles, colors, look and feel
Differences & Similarities Posts have… Pages have… Parents or Children Order Expiration Dates Option to appear in the menu bar Templates – more than Posts Featured Images Custom Fields • Categories • Tags • Excerpts • Expiration Dates • Featured Images • Custom Fields • Templates – a few
Which One to Choose? • It Depends! • For Posts – Think News or Think Boxes • Current now • Irrelevant tomorrow or next week • Falls into Category • For Pages – Think Forever, more or less • Current now and tomorrow • Doesn’t need updated often
Creating & Editing Posts & Pages • How are they alike? • The WYSIWYG editor • Title • Publish • Featured Image • Custom Fields • Theme SEO settings • Layout settings • Revisions
Enter title here • First thing you do
Next Step – Add the Content • Text editor – WYSIWYG (WIZ-ee-wig) • Works just like any other word processer
Paste … • Paste from Word Paste as Plain Text
Dialog Boxes • Paste as Plain Text • Paste From Word
Structure: Headings • Give structure and shape to your page • Not just a BLOB of text • Tips • Keep them short – 90 characters or so • Follow a logical order / hierarchy like an outline • h1 • H2 • H3 • This is your visitor’s navigation • Roadmap through the page
Structure: Lists • If you have a series of short paragraphs, that’s a list • Ordered: • When the order matters like Step 1, Step 2 • Unordered (bulleted) • When the order doesn’t matter.
Insert / Edit Link Insert Edit Link / Unlink
Link Dialog Box • Either paste the URL in the box or • Link to existing content with dropdown
Just say no to opening new windows!Please! Open Link in new Window
What “open new window” looks like • In the editor’s window • On the front end
Tips for links • Human readable text • Don’t use phrases that convey no information as links such as: • Click here, • Here, • More, • Read more • Do use text that makes sense out of context such as ‘degree requirements for BS in journalism’. • Do make links long enough to make sense – think about the copy you write • Don’t make links too long or too short. About seven words is a good maximum to aim for. • Don’t use the actual link as your text • (i.e. http://webs.purduecal.edu/creative/services/ ) • Use something descriptive such as Creative Services
Tables – For Data, not Layout Table Cell Properties Table Properties
Tables – the simpler the better! • Tables are read row by row, cell by cell • Think them through first • What if you couldn’t see the data? • How could you make sense of it? • A few easy steps... • Caption • Summary • Header Rows • Header Cells / Scope
Table Properties • Caption • Summary
Table Header Rows • Highlight Header Row
Table Header Cells • Choose Cell Type Header
Table Header Cell Scope • Choose scope
Table Header Row • Update all cells in the row
Add Media Upload / Insert Images, Multimedia(video/audio/ etc.) and documents (PDF, Word, Excel, PowerPoint)
Settings for Media • Settings are on the right of the screen • Title • Caption • Alternate Text • Description • Attachment Display Settings
Graphic Text & Tips • Alt text must = what’s on the graphic • Tip – • keep alternate text about the length of a Tweet – 140 characters • If you need to say more, create a separate page and link the image to that page.
Upload Files • Easy to do – maximum file size 2 megabytes • Not recommended from within Post or Page– use Media Library to upload • Alternate textStays with image ifuploaded viaMedia Library
Edit Media • Add the Alternate Text here, in the library
I Know HTML HTML Editor