FPGA Programming Guide for FEM-IB and FEM Boards
Step-by-step instructions for programming FEM-IB and FEM boards using Xilinx ISE Design Suite and Impact tools. Learn how to connect and initialize the boards properly, select devices, and program them successfully.

FPGA Programming Guide for FEM-IB and FEM Boards
E N D
Presentation Transcript
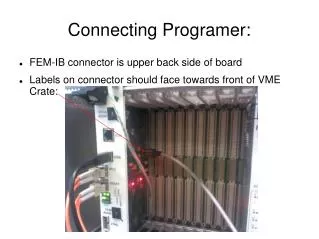
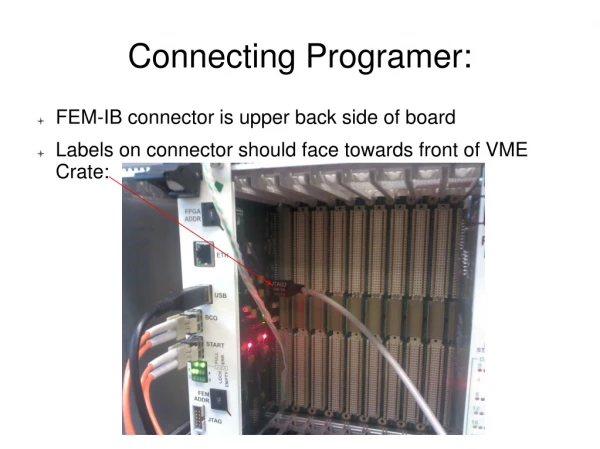
Connecting Programer: • FEM-IB connector is upper back side of board • Labels on connector should face towards front of VME Crate:
Connecting Programer: • FEM connector is top side of board • Labels on connector should face towards bottom of VME Crate:
Initialzing Programmer • Under “All Programs” open Xilinx ISE Design Suite 13.1 -> Lab Tools -> Impact • Answer “No” to Automatically Create and Save Box:
Initialzing Programmer • In drop down box: • For FEM-IB board select FEM_IB.ipf • For FEM board select FEM.ipf • Enter OK
You should see 2 devices for FEM-IB and 4 for FEM board FEM-IB FEM
Checks • Click on device • Right click and select “Get Device ID” • Should get “ReadIdcode Succeded” • If failure, then cable is backwards. Correct and repeat. • Close window, answer “NO” to “Save Project”
To Program • Locate Main project file for FPGA to be programed and double click it • For the FEM-IB
To Program • Answer “Yes” when windows gives the warning message. • The Xilinx package should open (Slide 9) • Scroll down to find the Configure Device (iMPACT) option and double click • A new iMPACT window should appear (Slide 10) • Select device to be programed (xcf02s) for the FEM-IB, left click to highlight and right click to get menu. • Select program. Take default options and click on OK button • Wait for operation to complete 30-60 seconds depending on device