Download
1 / 14
140 likes | 606 Vues
Introduction to the Microscope. Scott.lehbauer@lethbridgecollege.ab.ca. Care of the Compound Microscope. When transporting the microscope always carry it with two hands , one under the base and one on the arm of the microscope.

E N D
Introduction to the Microscope Scott.lehbauer@lethbridgecollege.ab.ca
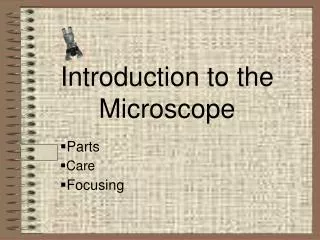
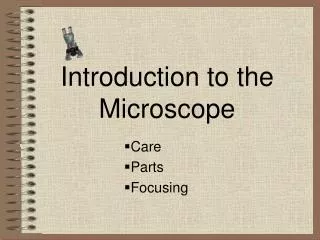
Care of the Compound Microscope • When transporting the microscope always carry it with two hands, one under the base and one on the arm of the microscope. • Never drag the microscope. If you need to move the scope then pick it up 1st. • The ocular and the objective lens should always be cleaned before and after using the scope with lens tissue. • At the end of the lab, ensure that the low power lens is facing the mechanical stage, the stage is in its lowest position and the power cord is neatly wrapped around the base.
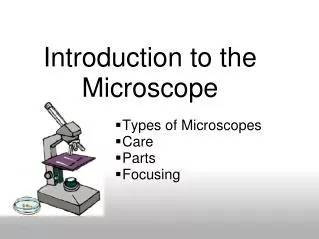
Microscope General Structures Ocular Lenses – these are the “eyepieces” of the microscope. They magnify the image by 10X. These lens are adjustable to fit your head. Ocular Lens
Microscope General Structures Lock screw - This allows the ocular lenses to be turned around backwards. (Do not touch the lock screw) Light Switch – Turns the microscope on and off. Turn the switch away from you to turn the scope on and increase the light intensity. Lock Screw Light Switch
Microscope General Structures Revolving Nose Piece – This structure allows you to change from low to medium to high to oil immersion lenses. Turn the structure clockwise to increase the magnification. Revolving Nose Piece
Microscope General Structures Objective Lenses • these are the lenses off the end of the revolving nose piece. These are 4X, 10X, 40X and 100X magnification. • These produce 40X, 100X, 400X and 1000X magnification respectively. Objective Lens
Microscope General Structures Mechanical Stage – this is what the slide sits on. It moves up and down with the coarse and fine focus knobs. Mechanical Stage Adjustment – Allows you to move the slide left and right and forward and backward while looking through the oculars. Mechanical Stage Mechanical Stage Adjustment
Microscope General Structures Stage Clip Stage Clip – Holds the slide in place. Condenser – condenses light through the slide. Condenser
Microscope General Structures Course Focus Adjustment – brings the slide into focus using the low power (4X) objective lens. Fine Focus Adjustment – brings the slide into focus on the higher power objective lenses. (10X, 40X and 100X) Course Focus Adjustment Fine Focus Adjustment
Microscope General Structures Diaphragm – allows the light pass through the condenser through the slide. Diaphragm Lever – allows you to control the amount of light passing through the condenser.
How to Operate your Compound Microscope • Begin with the low power lens directly above the stage. • Obtain a clean prepared slide and position it on the stage between the stage clips. • Center the slide over the stage opening using the mechanical stage adjustment. • Turn on the microscope and turn the light intensity to about ¾. • While looking through the oculars slowly turn the course focus adjustment until the image appears focused.
How to Operate your Compound Microscope • Moving the revolving nosepiece clockwise switch to the medium power lens (10X). Using only the fine focus adjustment adjust the focus to bring the image into focus. • Move the revolving nosepiece to switch to the high power lens (40X). Again adjust the focus using the fine focus adjustment until the image is clear. *** it is important to note that if the image is unclear at medium or high power then return to the low power objective and repeat the steps
Basic Microscope Definitions • Magnification – the magnification of the image is a result of the objectives and the oculars. The two concave lenses direct the light to a single focal point and allow the structures to be seen. The total magnification is the product of the magnifying power of the ocular and objective lenses. • Field of View – The field of view is the amount of the specimen or the size of the area that can be viewed. As the magnification increases, the amount of the specimen that can be seen is reduced.
Basic Microscope Definitions Parafocal – The microscopes are constructed so that changing from one objective to another, the image remains relatively in focus. If this is not the case, small adjustments with the fine focus can be made to bring the image into focus.