Effective Preparation for Scientific Papers: A Comprehensive Guide
Preparing for a scientific paper involves meticulous planning and organization. Ensure all notes are thorough for future reference. Outline your motivation and future plans to create a compelling narrative. Prepare figures and presentation slides to reinforce your story. Time constraints require careful scheduling for writing and presentation preparation. Modify existing images ethically, and create new visuals using appropriate software. Maintain consistency in formatting and labeling throughout your work. Proper pipetting techniques and reagent management are crucial for successful experiments.

Effective Preparation for Scientific Papers: A Comprehensive Guide
E N D
Presentation Transcript
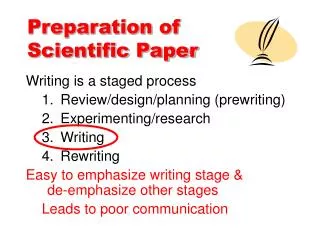
Preparation for a paper • All notes should be complete such that we can go back and reference them for future writing • We want to tell a story so including motivation and plans is important (take the time it will be worth it) • Preparation of figures and presentation slides along the way will help develop our story and solidify our plans • Limited time necessitate preparing our presentation and any writing we want to do along the way
Image preparation • Existing rasterized images (gels, photos etc.) should be modified (ethically) in photoshop • New drawings or modification of graphs and tables should be done in illustrator • Save in native adobe format as well as other formats for web or integration into writings • Save graphs as .ps or .pdf from graphing program to import into illustrator
More imaging • We will try to keep a standard format for figures as we go so that they can be put together easily • Keep font sizes, line weights, color matching the same throughout image as well as across images • When making images for presentations save as .png with transparency (also save as .ai or .psd)
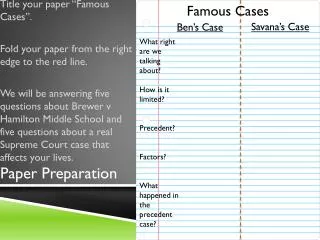
Labeling and reaction mixing • Label each sample carefully and non-ambiguously before adding reagents • Make a list of reagents for each reaction before starting • check off each reagent as you add them to the reactions • Double check everything is there before incubating or running reaction
Pipetting • Make sure you have the right pipette for the volume needed • When taking fluid depress button of pipette only to the first level of resistance • Look at tube and tip when taking up reagent • When ejecting liquid depress button of pipette all the way down remove from sample and release