Download
1 / 20
200 likes | 203 Vues
Learn how to group your Test Administrators' records within the D2L system and view your group's grades separately from the rest of the state.

E N D
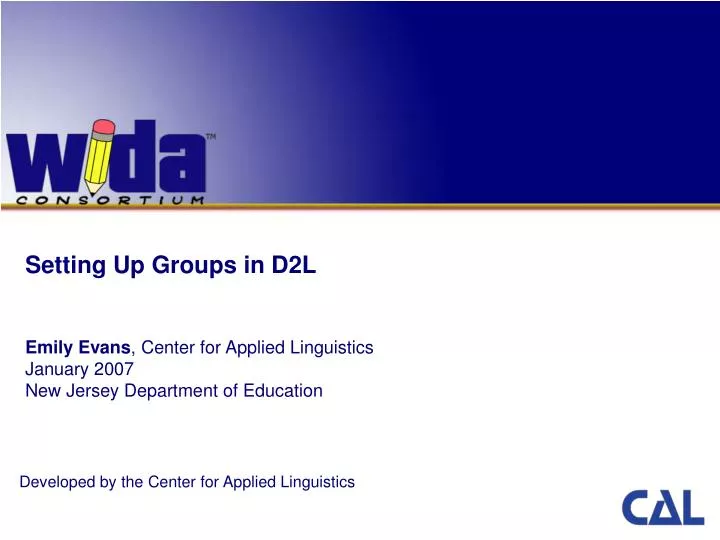
Setting Up Groups in D2LEmily Evans, Center for Applied LinguisticsJanuary 2007New Jersey Department of Education Developed by the Center for Applied Linguistics
Objectives of this Training • To learn how to group your Test Administrators’ records within the D2L system • To learn how to view your group’s grades separately from the rest of the state
How and why would I create groups? • As an ACCESS Test Facilitator, you have “WIDA Instructor” status • This status gives you certain access privileges in D2L that Test Administrators (“D2L students”) do not have • Enrolling Test Administrators • Access to Gradebook functions • In its default setting, your state’s Classlist and Gradebook will show all the students enrolled in the state course • Because there could be thousands of teachers enrolled in your state, sorting by group will come in quite handy when you are verifying grades
Before you get started… • Alphabetize your list of people you want to group, and decide what you want to name your group (e.g., District 26, or Johnson County Public Schools, or 526) • Please note: To add someone to a D2L Group, this person must already be registered in the D2L course for your state • For instructions on enrolling test administrators, please see the Preparing to Conduct ACCESS for ELLs® Testing PowerPoint presentation in this toolkit
Step 1: Locate the Classlist • While logged in as a WIDA Instructor/Facilitator, click on Classlist • Classlist is in red text, located in the uppermost portion of the gold band where your state course title is, next to My Home
Step 2: Click on Manage Groups • On the first screen within Classlist, click Manage Groups • The Manage Groups button is in the top middle portion of the screen MANAGE GROUPS
Step 3: Locate your State Districts • After clicking the Manage Groups button, you will see the Group Type • There is only one Group Type for your state; it is called New Jersey School Districts • Group Type is the highest level of the Groups Hierarchy in D2L and it is pre-set by WIDA for your purposes; Please note: These instructions are for adding a GROUP, not a GROUP TYPE. If you click Add Group Type, these instructions will not make sense. • Click on New Jersey School Districts Our state’s districts
Step 4: Add a Group • Now you will add a group to the pre-set Group Type New Jersey School Districts • Click on Add Groupin theupper right hand corner of the Manage Groups box ADD GROUP
Step 4: Fill in your group’s information • Make sure the group you are adding belongs to your state’s group of districts; you should see New Jersey School Districts in the Group Type field above the Group Name field • Name your group, and provide a brief description; you do not need to assign a code in the Group Code field; you may leave this field blank • When you are finished, click Add
Step 5: Enroll people in your group • After clicking Add, you will see your new group listed under the group type New Jersey School Districts • Now you are ready to enroll people in your group • Begin by clicking the Enroll icon (it looks like a small person) to the right of your group name ENROLL
Step 5 cont’d: Enroll people in your group • After clicking Enroll, you will see a list of all participants in your state • Beneath your group name (in the right hand column) you will see a small box that you can click to place a check mark in it Group Name Enrollment check box
Step 5 cont’d: Enroll people in your group • You can scroll through the entire alphabetical list of test administrators in your state to put checkmarks in the enrollment boxes of those people in your group • OR you can use the ‘Control Find’ shortcut to quickly locate the next person on your list • Simultaneously hold down the Control key and the F key
Step 5 cont’d: Enroll people in your group • When a ‘Find’ box appears, type the last name you are looking for • The screen will now “jump” to that name and highlight it
Step 5 cont’d: Enroll people in your group • When that person’s full name appears (there may be several people with that last name), click the enrollment box to reveal a check mark
Step 6: Update your group • Continue to locate all the members of your group by using Control+F • Click the box next to each person’s name to reveal the checkmark • Scroll to the bottom of the screen using the scrollbar on the right hand side of your browser window and click Update UPDATE
Step 6 cont’d: Update your group • After clicking Update, you will return to the Manage Groups screen • You should now see the number of users in your group to the right of the group name Your group name Number of users in your group
Step 7: View your group • Now when you return to Classlist, click on the Groups tab to the right of the Staff and Students tabs • You should see your group listed under New Jersey School Districts Groups tab Your group name Your group members
Step 8: View your group’s progress • Next click on Grades in the upper right corner of your screen (make sure your browser window is maximized or the Grades button may not be displayed) • Beneath the Grades List icon on the left, locate the View By drop-down menu • Click the down arrow next to Users and switch to Groups View by Groups
Step 8 cont’d: View your group’s progress • In the Groups view, your group’s grades should now appear in a separate list from everyone else in your state • If you want to add another group, return to the Classlist and repeat these steps starting on slide 6 of this presentation Your group’s grades
Questions or Comments? For more information, please contact the WIDA Hotline:1-866-276-7735 or www.wida.us/helpform World Class Instructional Design and Assessment, www.wida.us Center for Applied Linguistics, www.cal.org Metritech, Inc., www.metritech.com