How to use Power Point
130 likes | 372 Vues
How to use Power Point. It’s really not that hard, In fact, Power Point can be fun!. Before you open the program, plan what you are going to do with pencil and paper. You are going to do a 6 slide presentation, so the first slide will be the main title. What will the next 5 be?.

How to use Power Point
E N D
Presentation Transcript
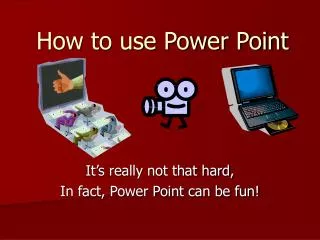
How to use Power Point It’s really not that hard, In fact, Power Point can be fun!
Before you open the program, plan what you are going to do with pencil and paper. You are going to do a 6 slide presentation, so the first slide will be the main title. What will the next 5 be? One way to set it up is to use your paper on being successful in college as a guide: Slides 2 through 6 could reflect the way your paper is organized – thesis statement, supporting details, and conclusion. #1 Plan your Presentation…
Once you have your plan, launch the program. Choose one. This the Power Point main work screen, first go to the Menu Bar and go “Format/Slide Design” to choose what your presentation will look like,
Next, choose the slide layout… Insert, New Slide Choose one. Text or picture or both! Start with the title slide layout, then, when you are ready for slide#2, go To “Insert, New Slide” and start your next slide. Do you want all text? Or text with a picture? Or a chart? This is where you choose.
Then, keep going with your slides. • Let’s say you chose the layout with text and two pictures from “Clip Art” – one with a lady at a computer and one showing students working…
To put in “Clip Art” Insert, Picture, Clip Art Kind of picture Choose one. To put in a graphic (picture) from Clip Art, go to “Insert/Picture/ Clip Art,” type in the kind of picture you want, when you see one you like, click on it to put in the Presentation.
If you want to get fancy, and add animations… Here is where you can animations to make your text or your pictures Fade-in, Fade-Out, Dance around and do all sorts of things.
To add animations… Slide Show Add Effect Right-click for menu Either right-click any object in the slide and tell the menu “Custom Animation,” Or go to the Menu Bar and go “Slide Show/Custom Animation” and you can make the objects do whatever by pushing “Add Effect.” Experiment to see what works best for your presentation.
To see your show “for real…” Slide Show Screen If you want to see what your presentation will look like when you give it, Go to “Slide Show/View Show” or push the little icon that looks like a screen.
If you need help… • Any time you need help with your paper or your presentation, please feel free to come by my office on the Second Floor of J Building in room 1022. • My office hours are Mon-Wed 11-12am, Tues-Thurs 5-6pm and Friday 1-2pm, but I’m there pretty much all the time. • Just let me know when you are coming.
One more last thing… • Use a floppy disk or CD-R to put your presentation on, don’t put it on a CD-RW. • The reason is that some CD programs don’t work with all computers. • Floppies & CD-R’s work with all computers. Cool Not Cool!