Precision Angular Measurement with Sine Bar
Learn about indirect angular measurement using a sine bar, achieving high accuracy for angles under 45 degrees. Explore construction details, setting procedures, and advantages of slip gauges for precise readings.

Precision Angular Measurement with Sine Bar
E N D
Presentation Transcript
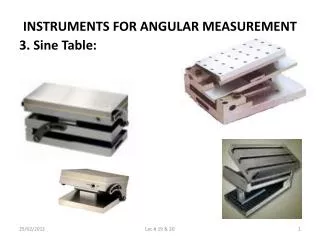
4.1. The Sine Bar • General Description This is an indirect method of angular measurement. They are frequently used for setting up angels from a horizontal plane. The accuracy attainable with this instrument is quite high and the errors are less than 2 seconds for angles less than 45 degrees. • Construction A simple sine bar consists of It consists of an accurate straight bar, as shown in the next slide, in which two accurately lapped cylindrical plugs arc located with. extreme precision. In design (I), the plugs project about 12 mm from the front face of the bar and in design (II), the ends of the bar are stepped and the plugs are secured into each step by a screw. The centre to centre distance of the plugs is 100 , 200 , 250 or 300 mm.
Setting and Reading the Sine Bar The setting of the sine bar is shown in the next slide. The Sine bar is always used in conjunction with a true surface (surface plate). The angle of setting is given as, The angle to be measured is determined by an indirect method, as a function of the sine. For (this reason, the device is called the “Sine bar”. In (he above equation, the distance 'h' is the height of one roller or plug of (he sine bar relative to the other. This is equal to the height of the gauge block if one plug rests on it and the other plug rests directly on surface plate. If the two plugs rest on separate gauge blocks, then “h” will be given as the difference in (he height of the two gauge blocks.
4.2. The Slip Gauges • Operating principle • Advantages of Slip Gauges : (1)
Reading the Slip Gauges: • Errors in reading:


