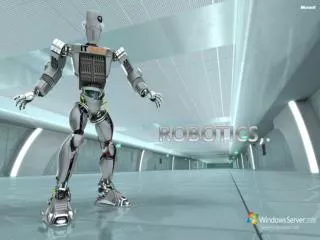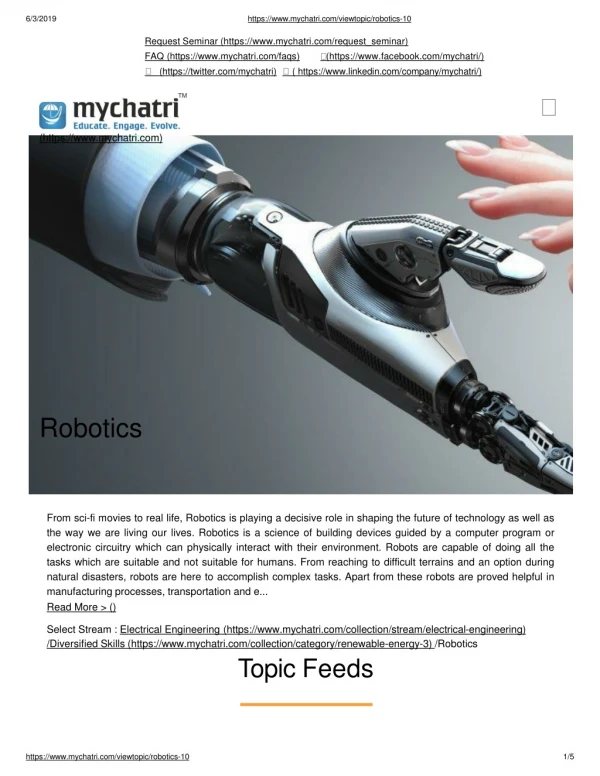
Exploring Robots Worldwide: Understanding Animal Robots and Their Functions
In this activity, we explore the fascinating world of robots that resemble animals and learn about their various functions. Through a series of experiments, students will run robots equipped with optical sensors to navigate and interact with their environment using black tape as a guide. By comparing the robots' predictable modes to more random "bug" modes, students will gain insights into robotic sensing capabilities and decision-making processes, cultivating a deeper understanding of technology in our world.


Exploring Robots Worldwide: Understanding Animal Robots and Their Functions
E N D
Presentation Transcript
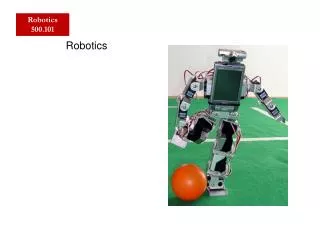
Robotics Activity 7
Robots around the world Let’s have a look at a some more examples of robots in action around the world. Animal Robots • http://www.youtube.com/watch?v=iMLwm1ofO_E&feature=related • http://www.youtube.com/watch?v=j2el0XRwr8E&feature=related Robots are not always ‘people-like’ they are useful machines too.... • http://www.youtube.com/watch?v=Ny5IfQsK9s0&feature=fvwrel
Aims of Activity 7 To run the robot so that it detects and reacts to black tape lines
Materials for Activity 7 • Working robots (without switch controller) • Black tape and Berol Broad felt-tip pens (1 pen per team) • Square sheets of white paper • Activity 7 video • Activity worksheet
Background for Activity 7 A robot needs sensors to find things out about its environment. Discussion: What sensors (senses) do people have? • Eyes (sight), ears (sound), nose (smell), fingers (touch), skin (temperature), tongue (taste) Discussion: What sensors (senses) does Robokid have? • Eyes (sight), switches (touch), battery checker (hunger). This activity will concentrate on using two of the robot “eyes”.
Background: Experiment 1 The two optical sensors at the front of the robot can detect the difference between black tape and white paper. These two “eyes” are located at the front of the robot and look down at the floor. They work by sending out some infra-red light and looking at what bounces back. A lot bounces back from white paper, but very little returns from the black tape. The robot computer converts the result to a number and uses it to plan its operation.
Our eyes cannot detect infra-red light so we will not see the beam. In fact, this light is used by TV remote controls to pass signals to your TV. The light is called “infra-red” because it is just above the red light of the visible light spectrum. Some animals can see infra-red light. For example, some snakes have little infra-red eyes (called pits) as well as normal eyes.
Experiment 1 shows the robots basic avoidance strategy. As soon as it detects the line it stops, reverses for a small period of time, then spins for a small period of time before heading off in a new direction. As it always uses the same avoidance mechanism, shapes drawn on the sheet will have regularity to them. However, the final pattern will be heavily dependent on the shape of the black tape perimeter. We will try to get each team to use a different shape.
Activity 7 Video This video shows all of the experiments together. After the video, I will go over each experiment in turn to remind of the steps you must carry out. I will also give you a worksheet that breaks down each experiment and explains the sequence of tasks. http://www.youtube.com/watch?v=iJPfQqrsib0&feature=player_embedded#at=24
Experiments For the next few slides, I would like you to refer to your worksheet and follow it as I go through each experiment. Please make any notes on the sheet that you think might help you or remind you of important things you must do to ensure the experiment works.
Experiment • Get a sheet of white paper • Create a closed shape with the black tape • Set robot into mode “b0” (power-on then A_2D_2A) • Place in centre of area and check that it works. • If all is OK insert a Berol Broad felt tip pen in pen holder • Make sure that the tip of the pen is touching the paper • Press switch A to start
Possible Problems The Robot will stop for the following reasons: • If it has been running for 2 minutes (this is called a time-out) • If switch A has been pressed and held for a couple of seconds. Pressing switch A will restart • If switch C has been pressed and held for a couple of seconds. Exits the mode – shown by flashing “b0” message
Experiment • Switch B can be pressed to change how the robot reacts. The things that can be changed are set by POT-1, POT-2 and POT-3. • POT-1: Sets the amount of reverse when robot detects the black tape • POT-2: Sets the amount of spin after the robot has reversed • POT-3: Sets the speed difference between the two motors. A greater difference means that it moves in a tighter curve. • Try changing the parameters and looking at the results • Create a multi-colour picture by swapping pens with other groups.
Experiment • Reverse paper and create new shape • Run the “bug bump mode” – Mode “b1” (switch sequence A_2D_A_D_A) • Press switch A to start • Robot will stop as in experiment 1 • This mode introduces randomness into the robots decision making by making each decision reliant on a random values. The effect is if the robot has an internal dice which is used to get random reverse and spin times. • Compare two drawings, one from the predictable mode and one from the bug mode.
Experiment (if time) How does the sensor work? We can try some simple tests with other things that are black: • Black felt-tip pen • Black paint (ensure it is dry before starting the robot) • Black ink • Black photocopier ink