Cordless Drill Demo Kit for Performance Comparison
This demo kit includes an 18-volt cordless drill, safety glasses, jaw horse or tabletop, 12" clamp, and competitor bits for performance comparison. Follow the secure demo instructions to showcase the drill's effectiveness in drilling through various materials. Practice beforehand and use optimal speed and feed rates for best results.


Cordless Drill Demo Kit for Performance Comparison
E N D
Presentation Transcript
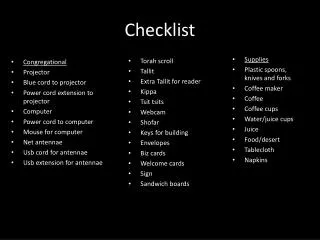
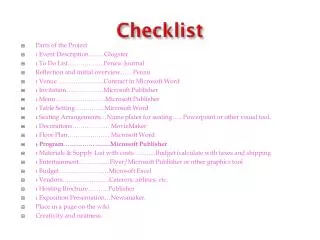
Material Checklist • Demo Kit • 18 volt cordless drill • Safety glasses for you and your audience • Jaw horse or tabletop • 12” clamp (SL300 or XP 600 recommended) • 2x4 wood strips (if using tabletop) • Competitor bits for performance comparison Demo Kit Ordering Instructions: Sample order # 1842873 ($0.00 Order Charge)
Demonstration Instructions • Secure demo sandwich to base: • Tabletop: Secure using 2x4 wood spacers & clamps • Jaw Horse: No additional tools needed • Chuck bit securely into drill • Set drill to rotary setting and highest speed with adjusted feed and speed through materials • Begin drilling, progressing through each material: • Start slow through tile. Bit should make a scratching sound through the tile and orange dust will appear • Bit will progress quickly through backer board. Grey dust will appear. • Bit will slow down again as it drills through the metal. May need to increase feed rate. • Bit will speed up again before going through wood. Note: if drilling on tabletop, do not allow bit to penetrate all the way through the wood.
Tips • Practice first before demonstrating in front of a group • Get comfortable with speed & feed needed for penetration through each material • Change demo bit every 4-5 holes for optimal performance • Avoid tile breakage • Do not drill within 1” of tile edge • Avoid drilling holes too closely together • Avoid high speed & feed rates into tile • “Race” against competitive bits to showcase performance
Key Discussion Points • Demo sandwich represents typical user application/scenario • Bit designed to work well through multiple materials at one time • Bit works best in rotary drill setting • Ability to work in hammer drills, but material damage risk is minimized in rotary setting • Tip geometry helps prevent walking and aids in quick penetration • Refer to Launch presentation for full F&B