Microscopes and Basic Measurement
Microscopes and Basic Measurement. How are they used to study the living environment?. Measuring and Units. Use a standardized system (metric system) Meters = length Gram = mass Liter = volume. Why Use Metric?. Base 10 system Easier to convert units

Microscopes and Basic Measurement
E N D
Presentation Transcript
Microscopes and Basic Measurement How are they used to study the living environment?
Measuring and Units • Use a standardized system (metric system) • Meters = length • Gram = mass • Liter = volume
Why Use Metric? • Base 10 system • Easier to convert units • Simply multiply or divide by 10 to change unit
Prefixes • Used to show smaller or larger measurements • Mega • Kilo • Hecto • Deka • Deci • Centi • Milli • Micro • Nano
Important Unit for Microscopes • Micrometers (microns) = µm • 1/1000th of a millimeter • 1000 micrometers = 1 mm
Early Microscopes • Anton Van Leeuwenhoek (1670’s) • First to see and describe single celled organisms (protozoa)
Robert Hooke (1665) • Coined term “cell”
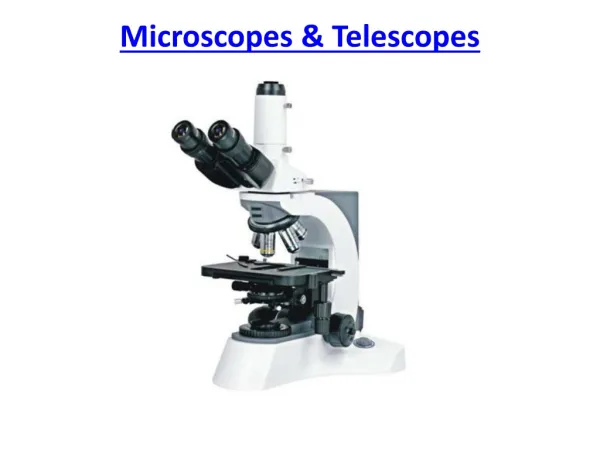
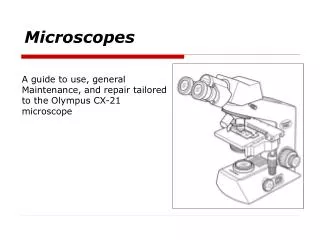
Contain two lenses that cause light rays to bend in such a way to produce an enlarged image.
Lenses: Ocular Lens: eyepiece lens Objective Lens: can be low, medium or high power Look at magnification on lens Lower power is smaller in size
Letting in Light: • Mirror or Illuminator: directs light up through the specimen • Diaphragm: regulates amount of light • Disk with different sized “iris” or openings
Arm: connects stage and body tube • Stage: platform with opening over which a specimen is placed (clips to hold slide) • Base: supports microscope
Eyepiece (ocular): part you look through, holds ocular lens, magnifies 10x • Body tube: connects eyepiece & objective lenses • Nosepiece: holds objective lenses (can be turned) • Objective Lens: magnifies image, can be low, medium, high power
Focusing: Coarse Adjustment Knob: use on low power only!! (never use with high power you can break your slide!) Fine Adjustment Knob: once low power is focused switch to high power and use fine adjustment.
Magnification • How much can you enlarge the image? • Ex: 100x = 100 times as big
Finding Total Magnification • Multiply strengths of two lenses you are using. • Ocular lens x Objective lens Ex: Ocular = 10x High Power Objective= 45x Total Magnification = (10 x 45) = 450x
Practice Find Total Magnification: • Ocular 2x, Objective 30x = • Ocular 10x, Objective 60x = • If Ocular is 10x and Total mag. = 350x What is the strength of the objective lens?
Note: • As you increase magnification you need to let in more light to see your specimen (adjust diaphragm)
Resolution • How sharp can you get the image? • Ability of microscope to distinguish two objects as being separate (ex: one cell from another)
What Happens to Image? • Compound Microscopes: • Image becomes inverted and upside down
What Happens to Image? • When you increase magnification • Object appears larger • Field of view gets smaller
Finding Field of View (F.O.V) Under Low Power: Use millimeter ruler Ex: 1.5mm Convert to micrometers 1 mm = 1000 micrometers So 1.5 mm = 1,500 micrometers (Move decimal over 3 to right)
Finding Field of View (F.O.V) • Under Medium or High Power Need to set up a proportion Remember!! • As magnification increases FOV decreases
Low power Magnification = High power FOV High power Magnification Low power FOV Ex: 100x = HP FOV 500x 1500 micrometers 500x = 150000 HP FOV = 300 micrometers
View and draw object on low power • Estimate how many objects would fit across diameter of field of view
Divide the diameter of FOV by the number of objects that can fit across it. • Ex: • Three letter “e”s fit across FOV of 1800 micrometers • Each letter is about 600 micrometers 1800 micrometers = 600 µm 3 letter “e”
Compound Light Microscope Magnification 40x – 1500x • 2-D image, inverted, upside down • Uses stains to see details (may kill specimen) • Specimen must be thin to allow light through
Dissecting Microscope: Low mag. 10x – 20x • See true image (right side up) • Specimen can be alive • Can use tools for dissecting specimen • Binocular (two ocular lens) so you can see 3-D image
Phase Contrast Microscope: • Uses special filters to show depth without staining. • Can see interior details of living cells
Electron Microscopes: • Much higher magnification and resolution than microscopes that use light. • Magnifies up to 200,000x • Uses beam of electrons • Sample placed in vacuum • Cannot view living specimens • Allowed scientists to see structure of cellular organelles
Other Equipment • Centrifuge: • Separates cell components by density • Whirls test tubes at high speed • Heaviest at bottom
Micro-dissecting Tools • Used to dissect cells