Download
1 / 15
150 likes | 268 Vues
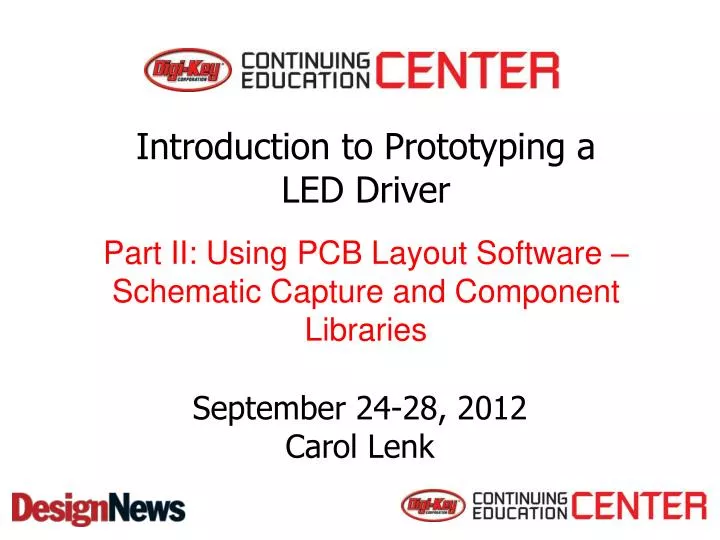
Introduction to Prototyping a LED Driver. Part II: Using PCB Layout Software – Schematic Capture and Component Libraries. September 24-28, 2012 Carol Lenk. Schematic Capture. Using DesignSpark, freeware, good feature set, no limitations. New schematic. Add components. Add connection wires.

E N D
Introduction to Prototyping a LED Driver Part II: Using PCB Layout Software – Schematic Capture and Component Libraries September 24-28, 2012Carol Lenk
Schematic Capture • Using DesignSpark, freeware, good feature set, no limitations. • New schematic. • Add components. • Add connection wires.
Add Component • Select resistor.cml library. • 0.1W resistor is SM0805 package. Will use 0.063W with SM0603 package and change the name. • Only 150K available. Will change value. • Need to copy component to our custom library and make changes there.
Custom Libraries • Create custom library to store commonly used components and to modify components. • Add path of New Library to Files tab.
Custom Libraries • Create New Library for Component: 9910Demo.cml
Copy Component • On Component Tab, find resistor.cml, find “r 0.063w SMTF”, click Copy To…, navigate to our library, rename “R”. • We’ll add the resistance for each instance of R on the schematic, so we can display it on the schematic.
Properties • Double click on component to get to Properties. • Double click on the text to get “text” tab to control what is displayed.
Values • Properties: Values Tab • Double click on Value to change it. • Click on Add.. To add Digikey field with part number.
Add Capacitor • Copy capacitor to our library • Go to Library Manager. • Select capacitor.cml library. • Select 1206 package. • Copy component to our 9910Demo.cml library. • Rename component as C. • Add C to our schematic • Go to Add Component. • From our library, select C.
Add Values to C • Double click on component to go to Properties. • Go to Values tab. • Double click on Mfr, delete AVX. • Click on Add, type “Value” for Name and “10 uF, 35V” for Value. • Click on Add, type “Digikey” for Name and “490-5520-1-ND” for Value. • Check box for value to display capacitance. • Double click on component label to adjust display. • In Text tab, uncheck “Component Name.”
Connect Components • Double click on x on R1, double click on x on C1. • Hover cursor over wire to see the name of the connection net. • Right click on wire to change net name.
Translate to PCB • In Tool Menu, select Translate to PCB. • New PCB Wizard – use default settings. • Units, 2 Layer Board, board size, etc. • 9910Demo.pcb • Footprints • Yellow is Silkscreen • Green is board outline • Airwires show pads that should be connected.
Lay Down Copper • Move components to within board outline. • Double click on pad to start wire, double click on destination pad to finish wire.