Download
1 / 19
190 likes | 291 Vues
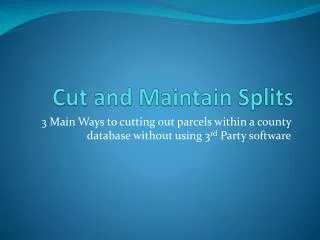
Learn three main methods to cut parcels within a county database without third-party software: using the Cogo Toolbar, Parcel Editor Toolbar, or Parcel Fabric Editor Toolbar in ArcGIS. Master the tools and steps needed to maintain and manage parcel data effectively.

E N D
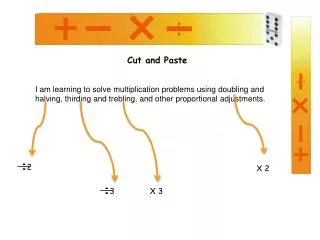
Cut and Maintain Splits 3 Main Ways to cutting out parcels within a county database without using 3rd Party software
3 Main Options Cogo Toolbar (Disabled on Basic License) Parcel Editor Toolbar Editor Toolbar
Cogo Toolbar (ArcInfo or Editor) • Traverse Tool • Allows you to plug in: • Direction-Distance (N80-25-40W 150FT) • Angle-Distance (90-0-0 150FT) • Curve –”Advance Curve” • (Chord,Angle,Arc,Radius,Chord Direction, Left, Right etc.) • Curve’s are confusing but if you have the right information from the enginer drawings they can be very easy with just plugging the information into the coresponding boxes. • Tangent Curve – “Basic Curve” • (Chord, Angel, Arc, Radius)
Cogo Toolbar • There are a handful of other tools on this toolbar but the Traverse tool is the main tool that would be used in cutting out parcels. • The majority of the other tools are used in line features such as road network, water & sewer lines, etc. • It allows you to split a line every 300 feet, build a cul-de-sac line feature. • This tool is built for representing AutoCad drawings
Parcel Editor / Parcel FabricToolbar • This is a relatively new function in ArcGIS • It’s based on Parcel Editing Workflows within the Parcel Fabric • Common Workflows • Parcel Splits • Parcel Merges • New Subdivisions • Boundary Line Adjustments • CAD intergration
Parcel Editor / Parcel FabricToolbar • What is a Parcel Fabric
Editor Toolbar • Editor tool is the main tool that allows you to edit your data. • It has everything from: • Merging Parcels • Splitting Parcels • Curves • Editing vertices • It has everything you need to maintain Parcels, Line and Point Features, (Sign Inventory, Water & Sewer Lines, Parcels, etc.)
Merging two parcels… • As you are editing the database • Select the two parcels that are being merged… • (Make Sure the Parcels layer is set selectable) • Editor Merge
Cutting a polygon feature • Editor Start Editing • Select parent parcel using the Edit Tool(Editor toolbar) • Turn on your snapping • This allows you to snap to your parcel lines • If snapping isn’t turned on, Right click on the grey area by help And select snapping • This is the process to add any of your toolbars
Splitting Parcel in Half • Once you have your Parcel selected you will want to select the Cut Polygon tool. • You will then need to hit the drop down arrow to give you your splitting options • Midpoint – Trace – Curves – Etc. • For this scenario we use the Midpoint Option
Midpoint tool… • Now that you have the MidPoint tool selected you just need to snap to the NW corner – then to the SW Corner. This will create a vertex in the center of that line. Now do the same process on the NE and SE corner and then Right Click Finish Sketch
Cutting out a plat… • First Step – Navigate to Parent Parcel and Select parcel • Once Parcel is selected look over the plat to verify everything is there that you need
Cutting out a plat… • Once Plat is verified you need to find a Point of Beginning • Staring in section corners are usually the best place to start • Editor Start Editing Select Parcel with Edit Tool • Once Parcel is selected start using your Cut Tool with Straight Segment option
Cutting out a plat… • Ok, so now you have your parcel selected and all the tools ready for use and snapping on… • Find POB • Navigate mouse to NW corner of section in ArcMap (POB) • As it snaps to corner left click on mouse to start creating your split
Cutting out a plat… • Since North line is along a previous cut line all you need is the length • So you have your POB now just right click Length and type in the length Enter • Now move curser and snap to the existing line
Cutting out a plat… • Snapped to existing line • Since East line is along a previous cut line all you need is the length • Now just right click Length and type in the length Enter • Now move curser and snap to the existing line
Cutting out a plat… • Since south line doesn’t exist you will use the Direction/Length function • Now just right click Direction/Length Add Direction Add Length • Enter • Now move curser and snap to the existing line
Cutting out a plat… Step 2 Length Step 1 POB Step 3 Length Existing Line Step 5 Finish Sketch Step 4 Direction & Length
Populating Parcel ID on new cut • Select Parcel • Open • Attribute • Table • Click on Parcel ID Field • Populate new Parcel ID