Download
1 / 7
80 likes | 131 Vues
Easily design engaging visuals by following these simple steps to create custom shapes and format your document. Learn how to manipulate shapes, add text, and use Word Art in this comprehensive tutorial.

E N D
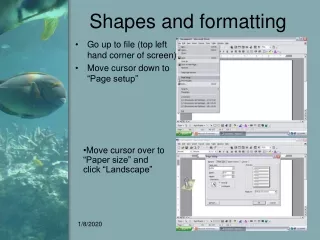
Shapes and formatting • Go up to file (top left hand corner of screen) • Move cursor down to “Page setup” • Move cursor over to “Paper size” and click “Landscape”
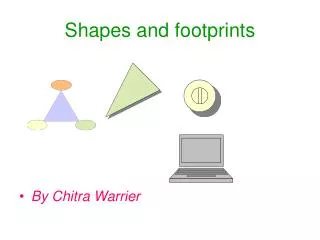
Part 2 • At the bottom of your screen there is a task bar with shapes. Click on the “Oval” shape. • Go up to screen and you will see a plus sign. Push your first button and hold it down and stretch it down and across the page to get an oval shape.
Part 3 • Go up to “EDIT” and move your cursor down to “COPY” • Then back up to “EDIT” and go to “PASTE” • Do that last step once again…”EDIT” then to “PASTE • Then like we did with the “Word Art” and the “Pictures” we will grab each one and drag it across the screen to make 3 across
Part 4 • Then you will “Right click” or use the second finger to click and a new window will pop open, you will go down to “Add text” • Next you will be changing the size of the font so you can see it in 50% size we are working in
Part 5 • Add your words in the text box/circle you have now • Then again same step as before. You will right click and “Add text” in the second circle and the third one also
Part 6 • Now we will go back down to the bottom of screen to the shapes again and find the crazy blue “A” and click on it to get your “Word Art Gallery” window • Choose one and click “OK.” Your next window will be the “Your text here.” In this you will type the title of your map. Then click “OK.”
Part 7 • Now like we did before, click on the one of the squares of the word art and hold mouse button down then drag it out to resize your word art. • Now go up to “EDIT” and scroll down “SELECT ALL” then go back to “EDIT” and click on “CUT.” Your screen should be clear now. START OVER MAKING YOUR OWN!