Microscope Lab Procedure for Biology Class
Detailed instructions for setting up and using a microscope in a biology lab session, including steps for viewing an 'e' slide and an onion slide, with questions to answer and drawings to make in a notebook. Clean-up instructions provided.

Microscope Lab Procedure for Biology Class
E N D
Presentation Transcript
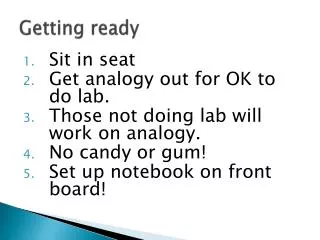
Getting ready • Sit in seat • Get analogy out for OK to do lab. • Those not doing lab will work on analogy. • No candy or gum! • Set up notebook on front board!
Slide – the letter ‘e’ • Set up microscope – turn on • Cut out small ‘e’ from newsprint. Place on slide • Put 1 drop H2O on ‘e’. Place cover slip over ‘e’. • Put on stage. Use low power only. • Answer questions on following slide in your notebook.
Draw ‘e’ • If ‘e’ is in the position shown above, how does it appear in the eyepiece? • Draw ‘e’ as it appears in the box below!
Looking at ‘e’ • While looking at ‘e’ through eyepiece, if you move slide to the right, how does it appear to move? • While looking at ‘e’ through the eyepiece, if you move the slide up, how does it appear to move? • Both lab partners need to do this!
Make onion slide • New slide – tear a paper thin piece of onion off – it should be translucent – and place it on the slide using toothpicks. Your piece should not be bigger than half of your cover slip. • Place 1-2 drops of iodine on slide. Wait 15 seconds and cover with a cover slip. • View on low power– draw • Center slide on a section with few water marks and clear cells. • Focus on medium power – draw • Focus on high power – draw.
Onion on low magnification • What cell features can you see?
Onion on medium magnification • What cell features are now visible?
Onion on high magnification • How is high magnification different for the onion slide than low magnification?
Clean up • Return materials back to containers as you found them. • Wash and dry slide – return to container 3. Throw any paper towels away – clean up area. 4. Work on analogy – Study for test Friday.