Download
1 / 14
140 likes | 272 Vues
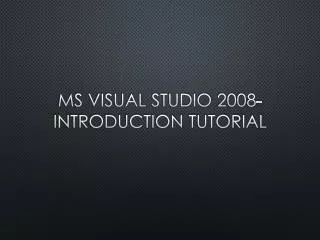
This tutorial guides you through the process of creating a Win32 Console Application using Visual Studio 2008. Start by creating a new project, selecting the Win32 Console Application type, and defining your project title and file directory. Ensure you add a new source file with a .cpp extension. Once you've written your C++ code, you can build your project to check for errors and warnings. Finally, run your application to see the output in the DOS prompt. Perfect for beginners looking to get started with C++ in Visual Studio.

E N D
Choose: “Win32 Console Application” projecttitle Project and file directory
projecttitle Project and file directory
New source file will be included in theproject projecttitle Project and file directory
Select “C++ File (.cpp)” Select ‘Code’ projecttitle Give a file name. Be careful!! Extensionmust be .c Project and file directory
Select “C++ File (.cpp)” Select ‘Code’ Write your program here projecttitle Give a file name. Be careful!! Extensionmust be .c Project and file directory
Build Solution projecttitle Project and file directory
Afterbuildsolution Start Debugging projecttitle Errorandwarningmessages will be here. Project and file directory
projecttitle Program outputandinterface at DOS prompt. Project and file directory
Open a previouslycreatedproject. projecttitle Project and file directory
projecttitle Project and file directory
projecttitle Project and file directory