

SlideServe
Menu
Préférences
© SlideServe · v2026

Group Work Plans

jackie avatar
3 diapositives · 155 Views · Oct 12, 2014

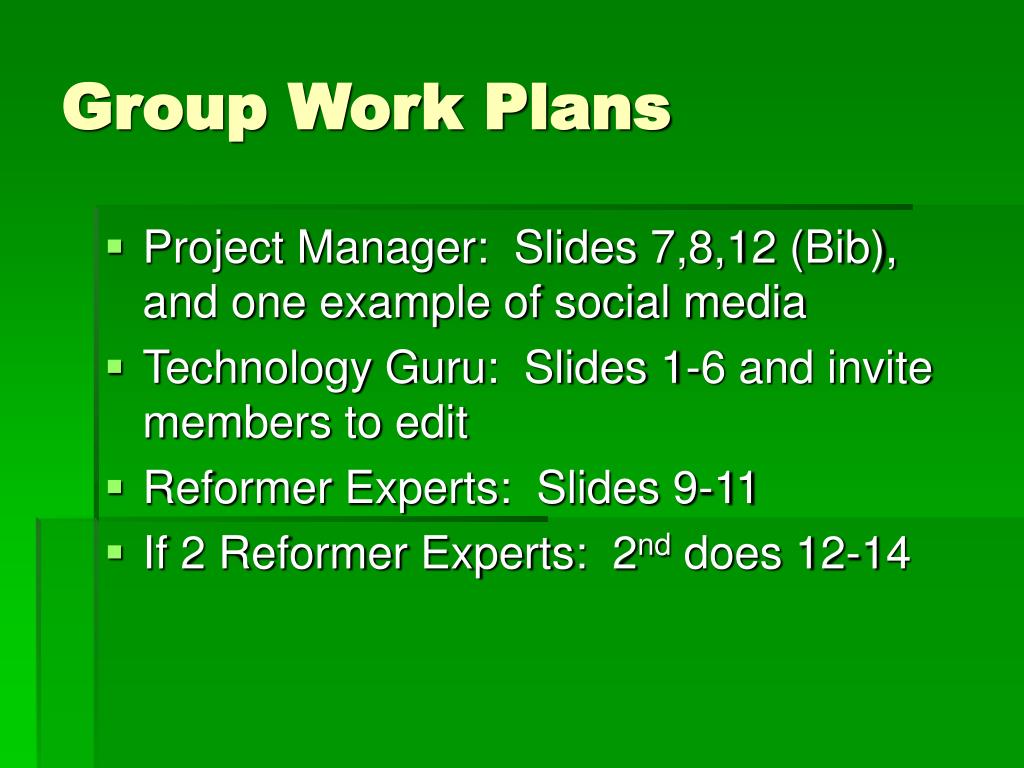
Group Work Plans. Project Manager: Slides 7,8,12 (Bib), and one example of social media Technology Guru: Slides 1-6 and invite members to edit Reformer Experts: Slides 9-11 If 2 Reformer Experts: 2 nd does 12-14. How to Add your Fakebook and Fake Twitter Templates to Your Prezi.
Group Work Plans - slide 1
01 / 3Group Work Plans
1 / 17

Télécharger la présentation

Group Work Plans
Une image / un lien ci-dessous est fourni (tel quel) pour télécharger la présentation

Politique de téléchargement : le contenu du site vous est fourni TEL QUEL pour votre information et votre usage personnel ; il ne peut être vendu, concédé sous licence ni partagé sur d’autres sites sans l’accord de son auteur.Le contenu vous est fourni TEL QUEL, pour votre information et votre usage personnel uniquement. Téléchargez la présentation en cliquant sur ce lien. Lors du téléchargement, si vous ne parvenez pas à télécharger une présentation, l’éditeur a peut-être supprimé le fichier de son serveur.Pendant le téléchargement, si vous ne parvenez pas à obtenir une présentation, le fichier a peut-être été supprimé par l’éditeur.

F I N

Plus de contenu associé

Transcription de la présentation
  1. Group Work Plans • Project Manager: Slides 7,8,12 (Bib), and one example of social media • Technology Guru: Slides 1-6 and invite members to edit • Reformer Experts: Slides 9-11 • If 2 Reformer Experts: 2nd does 12-14

  2. How to Add your Fakebook and Fake Twitter Templates to Your Prezi • Open the Reformer Projects page from TEMS library page. • Scroll to bottom of page and open one of the templates (Fakebook, etc.) • Save it to your network files and then edit it. • Once you have completed the template, take a screenshot by pressing the “Print Screen” button on your keyboard. • (continued on next page…)

  3. How to add your templates to your Prezi • After taking the screenshot, go to the “Start” menu. Click on “All Programs”, then click on “Accessories”, then click on “Paint”. • Once “Paint” is open, press Ctrl-V to paste your screenshot onto the page. • Click Ctrl-S to save the picture to your network account. • Before saving it, use the drop-down menu to save it as a JPEG file, then save it. • From Prezi, you can now upload the picture to your Prezi slide, by clicking “Insert”, then click on “Image”, then click on “Select Files” at the top right of your screen to find the file and upload it to your Prezi. • More questions? Ask your technology guru 