Download
1 / 40
400 likes | 584 Vues
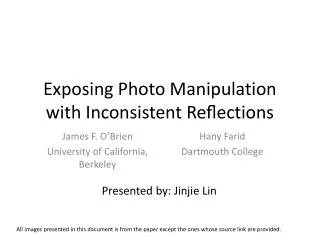
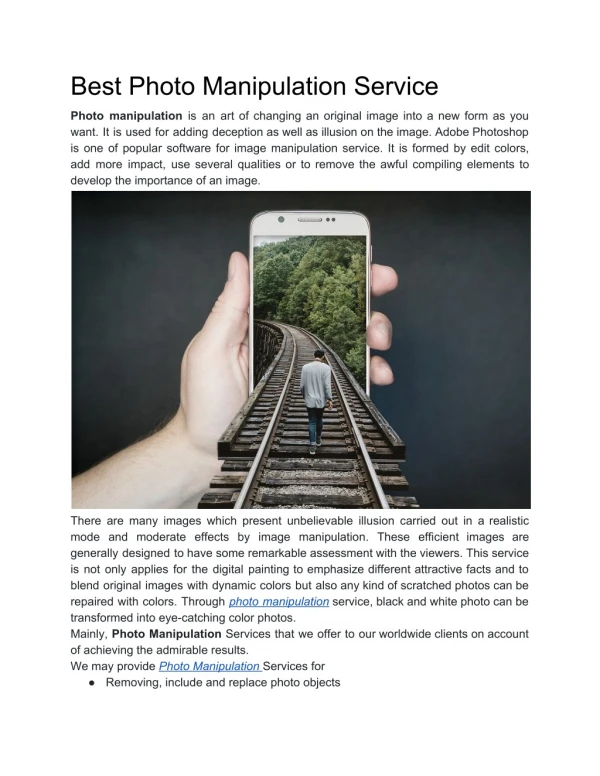
Photo Manipulation. Image One. Image Two. Image Three. Image Four. Photo Manipulation. It is critical for you to use high quality images to illustrate what you are communicating! Photo manipulation allows you to fix minor mistakes in your photo without changing the context.

E N D
Photo Manipulation • It is critical for you to use high quality images to illustrate what you are communicating! • Photo manipulation allows you to fix minor mistakes in your photo without changing the context.
Photo Compression • Two Types: • Lossless • When compressed (saved) or decompressed (opened) the image loses none of its information. • Lossy • Removes some of the original photographic detail when compressed or decompressed. • Used to reduce image size with photo storage.
File formats to use… • Suitable file formats • Commonly used for everyday photography. • JPG - Joint Photographic Experts Group, compressed format • GIF - Graphics Interchange Format, compressed format dating back to CompuServe in the 1980s • Used by experienced photographers. • TIF - Tagged Image File Format, uncompressed and compressed formats • PNG - Portable Network Graphics, standardized compression • Each file format has certain properties that make it different from another format.
Example of Compression • Uncompressed • Ex. Sheep, sheep, sheep, sheep, sheep • Lossless compression • Ex. Five sheep • JPG • Ex. Sheep
Photoshop File Management • Files pulled directly off a camera are called “raw” images. • Always save downloaded images in a raw images folder. • Then create a new folder for manipulated photos. • With certain file formats, some photo information and details are lost each time you save. • The higher the image resolution the better the file quality.
Helpful Image Properties • Color modes: • Cyan, Magenta, Yellow and Black • Red, Green, Blue • The mode will depend on the printing options you have. • Most digital images are saved as RGB automatically. • Monitors display in RGB; while printing services would offer CMYK. • This can cause differences in the appearance between what you see on screen and your printed image. • Check by: • Image > Mode > CMYK or RGB
Helpful Image Properties • Image size and resolution • Determines the quality of the image • Measured in dots per inch (dpi) or pixels per inch (ppi) • Web resolution is 72 dpi • Common print resolution is 300 dpi • Publication quality is 600 dpi or better • Check by • Image > Image Size
Journalistic Rules for Photo Manipulation • Only use the following features when necessary • Cropping • Sizing and levels with resolution • Red eye removal • Adjustment of levels to histogram limits • Minor color correction • Adjustment of highlights and shadows • Healing tool to remove time stamps, logos, etc
Photo Cropping • Choose an image to crop • Click on the Crop icon in the tool bar at the right of your screen or use keyboard shortcut (Ctrl+C) • Draw your crop tool on the photo by holding the left mouse button and dragging. • Release the mouse button when the desired crop area is selected. • Remember – the image in the crop box is what you are choosing to keep. • When done hit Enter or right click and select crop or double click
Photo Cropping • To crop to a certain size, enter the width and height dimensions you want at the top of the toolbar. • The cropping tool will then automatically crop to this size format.
Show what you know! • Now take a few minutes to crop the image of the bison following the simplicity rule learned previously.
How To Resize Images And Maintain Original Sharpness • When taking photos use a medium to large image (10 to 18 inches). • So what do you do when you have a large photo, but you need it much smaller. • Follow these specific steps to avoid blurry (pixelated) photographs.
Resize Images • Open one of your photographs • Go to the Image > Image Size • Click on Resample Image and choose Bicubic Sharper from the drop down menu. • This is the best setting for making sure an image doesn't blur. • Adjust your image pixels or size (try 250 pixels or change photo to a specific size).
Resize Images • For enlarging an image select Bicubic Smoother. • When resizing photos try to do it only once on an image. If this is not possible, then enlarge or compress your photo in about 10% increments.
Now its your turn! • Take the image of the grasshopper and resize it to be 6 x 4.5 inches. • Now resize it to be 20 x 15 inches.
Red Eye Removal • Select Red Eye tool • Zoom in on red eye • Center Red Eye tool and click • Make adjustments as needed for pupil size
Red Eye Removal Example Before After
Show us how it is done! • Take the image of the two children and remove the red eyes from the photograph.
How To Fix An Underexposed Photo • The easiest way to avoid underexposed photos is to adjust your aperture settings, your shutter speed, and your film speed when shooting. • Look these settings up in your camera manual. • Choose a dark or underexposed image. • Click on Image > Adjustments > Shadow/Highlight • Play with the AmountSlider and the Tonal WidthSlider until you find just the right balance.
How To Fix Overexposed Images • Choose a washed-out or overexposed image. • Click on Image > Adjustments > Shadow/Highlight • Play with the AmountSlider and the Tonal WidthSlider until you find just the right balance.
Exposure Correction Examples Original Corrected
It’s your turn again! • Take the overexposed image of the man in the park and fix the washed out photograph.
Levels and Histograms for Color Correction • Click • Layer > New Adjustment Layer > Levels • Can click “Auto” or can use dropdown color box to correct each color. • If you do each color, “drive the truck to the mountain”. • Select white eyedropper tool to set white balance. • Click on true white in photo.
Color Correction • Image > Adjustments > Hue/Saturation • Choose color you want corrected from dropdown box. • Adjust color saturation.
Color Correction Example Underexposed Corrected
Here’s your chance… • Open the “tiles” image and adjust the levels to improve the image.
Removing image blemishes • Use this tool to remove time stamps, logos, etc. • Click the Spot Healing Brush tool. • Ctrl+Click on the area you want to copy. • Click on the area you want to erase. • Repeat until satisfied with the image improvements.
Blemish Correction Example Original Corrected
Fix the problems! • Open the “Agriculture Building” image and remove the date stamp while making sure the building remains recognizable.
In conclusion • You know a bit more about file types and how to manipulate photographs, but remember do not change the context of your photos. • Photo ethics are an important part of photojournalism.
Additional Review With the remaining time in class, experiment with the tools you have learned today. There are additional tools such as text, the lasso tool, and the magic eraser tool that you may also take the time to find and experiment with.
Next Up! • As the next step in our photography unit we will learn about writing photo captions.