Download
1 / 7
70 likes | 184 Vues
Enhance your project management efficiency by designing streamlined workflows with our comprehensive guide. Create a template for the Work Order, add tasks that outline each step of the workflow, and establish connections between tasks to visualize the process flow. Learn how to specify properties for tasks and links, ensuring clarity and precision in your projects. Utilize the Diagram Actions menu for effortless task management on the design surface, engage "Sticky Mode" for efficient insertion, and save your layout and properties for future use.

E N D
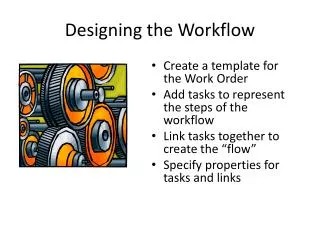
Designing the Workflow • Create a template forthe Work Order • Add tasks to represent the steps of the workflow • Link tasks together to create the “flow” • Specify properties for tasks and links
Create a Work Order template Template becomes the prototype for actual workflow instances
Add Tasks using the Diagram Actions menu on Diagram topic lets you add tasks Design surface for arranging & linking tasks
Hints for using the Design Surface Action menu when something is selected Link cursor Task cursor Right-click on design surface toget back to adding tasks or links “Sticky Mode” for insert Right-click on design surface to exit insert mode Action menu when nothing is selected
Linking Tasks After choosing Link mode, drag from one task to the other and release
Specifying Properties Click on arrow or task box to select it ‚ Fill in properties for selected object
Save Layout and Save Properties Save Properties Save Layout