Download

1 / 16
160 likes | 189 Vues
Learn about INPUT vs. OUTPUT signals in Arduino programming. Understand analog vs. digital signals and get started with coding your first project on Arduino microcontrollers.

E N D
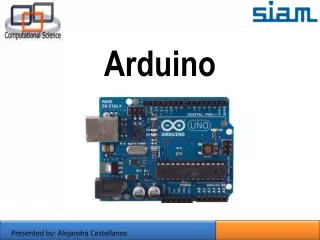
Adding control – let’s use the Arduinoand start programming!!!
Concepts: INPUT vs. OUTPUT Inputs is a signal / information going into the board. Output is any signal exiting the board. • Referenced from the perspective of the microcontroller (electrical board).
Concepts: INPUT vs. OUTPUT • Referenced from the perspective of the microcontroller (electrical board). Output is any signal exiting the board. Inputs is a signal / information going into the board. Examples: Buttons Switches, Light Sensors, Flex Sensors, Humidity Sensors, Temperature Sensors… Examples: LEDs, DC motor, servo motor, a piezo buzzer, relay, an RGB LED
Concepts: Analog vs. Digital • Microcontrollers are digital devices – ON or OFF. Also called – discrete. • analog signals are anything that can be a full range of values. What are some examples? More on this later… 5 V 5 V 0 V 0 V
Open up Arduino For Mac Users • Move the Arduino executable to the dock for ease of access. • Resist the temptation to run these from your desktop. • Hints: • For PC Users • Let the installer copy and move the files to the appropriate locations, or • Create a folder under C:\Program Files (x86) called Arduino. Move the entire Arduino program folder here.
ArduinoIntegrated Development Environment (IDE) error & status messages Two required functions / methods / routines: void setup() { // runs once } void loop() { // repeats }
Settings: Tools Serial Port Your computer communicates to the Arduino microcontroller via a serial port through a USB-Serial adapter. Check to make sure that the drivers are properly installed.
Settings: Tools Board Next, double-check that the proper board is selected under the ToolsBoard menu.
BIG 6 CONCEPTS This work is licensed under a Creative Commons Attribution-ShareAlike 3.0 United States License.
Let’s get to coding… Project #1 – Blink “Hello World” of Physical Computing Psuedo-code – how should this work?
Comments, Comments, Comments Comments are for you – the programmer and your friends…or anyone else human that might read your code. // this is for single line comments // it’s good to put a description at the top and before anything ‘tricky’ /* this is for multi-line comments Like this… And this…. */
Three commands to know… pinMode(pin, INPUT/OUTPUT); ex: pinMode(13, OUTPUT); digitalWrite(pin, HIGH/LOW); ex: digitalWrite(13, HIGH); delay(time_ms); ex: delay(2500); // delay of 2.5 sec. // NOTE: -> commands are CASE-sensitive
Soalpertemuan 6 • Gambarkan sinyal analog dan sinyal digital • Arti Delay pada arduino adalah…. • Arti Delay (5000); pada arduino adalah…