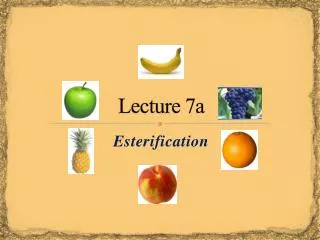
Lesson 7A
Lesson 7A. Using Camera Views. Welcome to Part 2 of the Princess & Dragon tutorial. In Part 1 we covered how to set up a world, add and position objects, and create a simple animation. Part 1: Objects Part 2: Methods & Properties Part 3: Cameras & Events Part 4: Billboards, Sound, & 3D-Text

Lesson 7A
E N D
Presentation Transcript
Lesson 7A Using Camera Views Slides are adapted from aliceprogramming.net or http://www.cs.duke.edu/csed/alice09/tutorials.php#introduction
Welcome to Part 2 of the Princess & Dragon tutorial. In Part 1 we covered how to set up a world, add and position objects, and create a simple animation. • Part 1: Objects • Part 2: Methods & Properties • Part 3: Cameras & Events • Part 4: Billboards, Sound, & 3D-Text • In Part 2 we’ll add more animations so that the dragon will kidnap the princess. • This will cover how to change camera views, create and edit methods, and change properties.
Step 1: Dummy Object Review In Part 1 you learned how to drop a dummy object to save the view of the Camera. We dropped one named originalView (the location of the camera when Alice starts) and another dummy object called towerView (when we moved the camera to get a close up view of the tower). You can find these in the folder that we named CameraViews. We will now use these saved Camera views.
Step 1: Setting Camera View There are two ways to change the camera view. This first way changes the camera view before the animation. Select the camera from the object tree and drag it into the world preview pane You will see a menu pop up, go to camera set point of view to and select CameraViews, originalView. This will set the scene back to the original camera view.
Step 1: Changing Camera View In order to change the camera view during animation, we must drag in a method. Find camera set point of view to from the camera’s list of methods (you will need to scroll down). Drag this in right above but outside of the Do together. Select CameraViews,towerView.
Step 1: Changing Camera View Drag in the same instruction at the end of the method, outside of the Do together. This time set it to the originalView. Play the world and you will see that the first instruction we added makes the camera zoom in on the tower and that the second instruction returns the camera to the first view.