Download

1 / 10
100 likes | 227 Vues
This comprehensive guide provides instructors with detailed instructions on how to integrate i>clicker with Blackboard at Cornell University. It covers the integration setup, student registration process, roster synchronization, and uploading clicker points to Blackboard. By following these steps, instructors can ensure that their courses utilize i>clicker effectively, allowing for better engagement and assessment of student participation. For additional support, contact Cornell Academic Technologies.

E N D
i>clicker Integrate with Blackboard Pat Graham Academic Technologies
Agenda • Files for Integration • Integration Set-up • Blackboard Site connection • Student registration: How to • Roster synchronization • Upload clicker points to Blackboard • Contact unregistered students
Files for Integration • Download files at:http://pollinghelp.cit.cornell.edu/iclicker-with-blackboard/#Bb-setup • Unzip and put files in correct folder:i>clicker Win or Mac: Resources
Integration Set-up • Open i>iclicker, choose course and click“My Settings” • Click “CMS/Registration” tab • Choose Blackboard Version 8 and above • Click “Set for Course” to save settings.
Integration Set-up – Part 2 • Open i>grader and choose course • Prompt for Blackboard course roster: Choose Yes • Fill in i>clicker Integrate settings:CMS Username: pmg1 (your NetID)Security Key: paste from Blackboard site • Click “Login” • Choose Course Name from list • Click “Import Roster” • Click “Restart i>grader” • View class roster
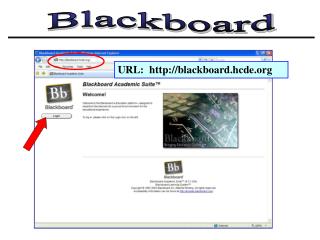
Student Registration • Students login to blackboard.cornell.edu • Click on Course Name • Click on “Tools” in the course menu • Click on “i>clicker Remote Registration” • Type in 8-character ID from back of remote • Click “Submit”
Integration Set-up – Synchronize Roster • Open i>grader and choose course • Click “Sync…” • Click “Yes” to roster sync • Click “Login” or it will automatically login • Choose course from list and click “Import Roster” • Click “Yes” to overwrite existing roster • Click “Restart i>grader” • Students listed with registered clickers and students without registered clickers
Upload clicker points to Blackboard • In i>grader, click “Export” • Select all sessions, or just individual dates • Login to Integrate Connection or automatically login • Choose course from list and click “Upload Scores” • A new column will be inserted in the Grade Center for each date • It will be categorized so you can create a new column to total the individual days into a single clicker point total for students to see.
Contact unregistered students • In i>clicker Instructor Tools • Click “Instructor Report” • Select settings for a report and click Submit • Click “Email All Unregistered” to automatically send an email – no editing of message is available.
How to reach us http://pollinghelp.cit.cornell.edu/ atc_support@cornell.edu 607-255-9760