Download
1 / 38
530 likes | 1.54k Vues
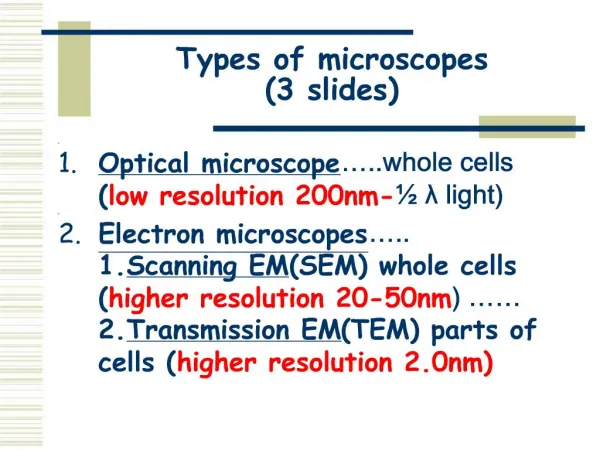
Types of Microscopes. Unit 3 – Powerpoint #1 Honors Biology 2012-2013. Light Microscopes. Use a beam of Light The specimen can be dead or alive. Simple Microscopes. Have only 1 lens Give two examples of a simple microscope:. Magnifying Glass Reading Glasses. Simple Microscope.

E N D
Types of Microscopes Unit 3 – Powerpoint #1 Honors Biology 2012-2013
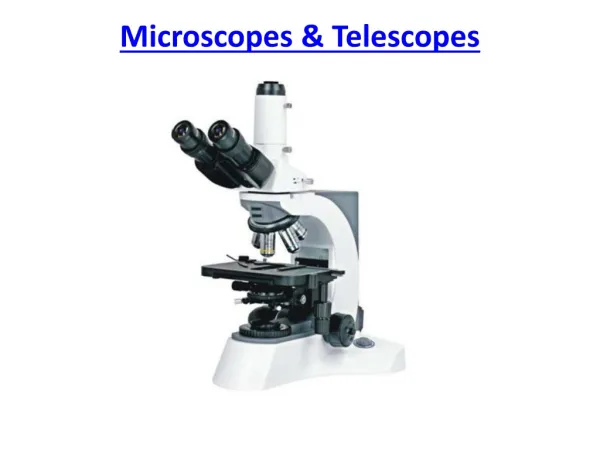
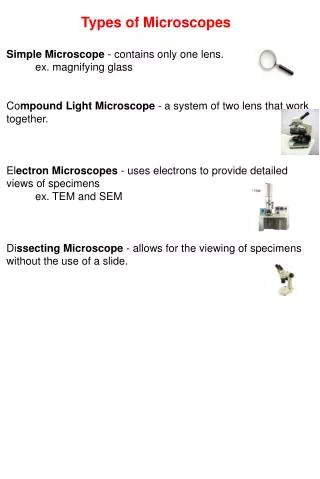
Light Microscopes • Use a beam of Light • The specimen can be dead or alive
Simple Microscopes • Have only 1 lens • Give two examples of a simple microscope: • Magnifying Glass • Reading Glasses
Compound Microscopes lens • Have more than one ______
Dissecting Microscopes 20x 30x • Magnify by 10x or ______ or ________ • Shine light on or ____________ the specimen • Specimen can be thick or _______. through thin
Light Microscope 40- 400x • Magnify by ______________ • Shines light ______________ the specimen • Specimen must be _________. through thin
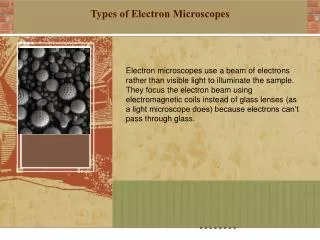
Electron Microscope electrons dead • Use a beam of _______________- • The specimen must be _________ because an electron microscope is used in a vacuum with no _____ and no ________ air water
Scanning E.M. • Makes 3D pictures of surfaces • Magnify by _________ 60,000x
Transmission E.M. 2D • Makes _____ pictures of thin slices • Magnify by __________ 100,000x
Transmission E.M. Image (2D) Butterfly Antenna
Other Microscopes • Probe Microscopes • Ion Microscopes • _____________ can be seen with these 2 types of microscopes. Atoms
Probe Microscope Image • Horse Hair
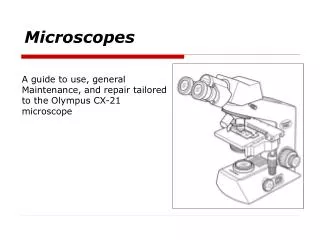
1. Eyepiece Magnifies by 10x
2. Revolving Nose Piece Changes Objective Lens
3. Low power Objective Lens Magnifies by 4x (Red)
4. Medium Power Objective Lens Magnifies by 10x (yellow)
5. High Power Objective Lens Magnifies by 40x (Blue)
6. Stage Clips To hold slide in place
7. Diaphragm Adjusts the amount of light
8. Light Light to see specimen
9. On/Off Switch Turns light on and off
10. Arm To hold while carrying
11. Stage To set slide on
12. Course Adjustment To focus only when in Low Power
13. Fine Adjustment To focus when using medium or high power
14. Base • To hold while carrying
Both Arm A. Carry a microscope with ___________ hands – one hand holding the _______ And the other hand under the ___________ Always hold the microscope upright so the _____________ cannot fall out When you place a microscope at your table, make sure it is _______ from the edge If there is anything wrong with the microscope, or it is damaged in any way, let the _______________ know immediately. B. To clean the objective lenses and eyepiece, use _______________________ Base Eyepiece Away Teacher Lens Tissue
Prepare your slide • Plug the microscope in. Turn on the ______________ • Be sure the ___________ Power Objective Lens (_______) is clicked into place. • NOTE: Be sure to look at the microscope from the side when changing objective • lenses to avoid damaging the ________________ and _____________ • 4. Use coarse focus to raise the stage to its ________________ position • 5. Place the _______________ on the stage. • Look through the eyepiece and turn the __________________ (lowering the stage) • until the specimen is visible. • 7. Use the ____________ adjustment to bring your specimen into sharp focus. • You may wish to move the ________________ to adjust the amount of light. Light Low 4X Slide Lens Highest Slide Coarse Focus Fine Diaphragm
Focused 8. Make sure the specimen is ______________ 9. Switch to the ___________ Power Objective Lens ( ______) NOTE: Look at the microscope from the ____________ when you change lenses. 10. To avoid losing your focus and/or crushing the slide with the lens, never use the __________________ focus on medium or high power. Use the _____________ focus only to make the specimen visible. 11. Make sure the specimen is ______________. Look from the _________ as you change objective lenses and switch to the __________ Power Lens (________) 12. Use only the _____________ focus to make the specimen visible. 13. When finished, make sure the ___________ power objective lens is in place, wrap the __________ around the _________ of the microscope, cover, and place in the appropriate location Mid 10X Side Coarse Fine Focused Side High 40X Fine Low Cord Arm