Download
1 / 96
970 likes | 1.12k Vues
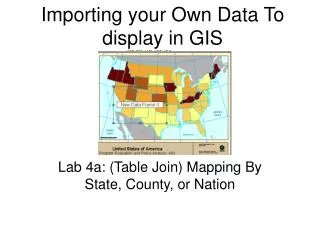
Importing your Own Data To display in GIS. Lab 4a: (Table Join) Mapping By State, County, or Nation. Lab Overview. In this lab you will: Prepare the data you obtained for your portfolio so that it can be imported into Arc GIS mapping software.

E N D
Importing your Own Data To display in GIS Lab 4a: (Table Join) Mapping By State, County, or Nation
Lab Overview • In this lab you will: • Prepare the data you obtained for your portfolio so that it can be imported into Arc GIS mapping software. • Set up your own personal geodatabase which you can use to store all data you would like to map. • Import your portfolio Data into your geodatabase • Add your portfolio Data to an appropriate map (this involves joining 2 tables) • Selecting how you want the data to be visually represented
1. Preparing the data you created in lab 4 so that it can be imported into Arc GIS mapping software.
Create an Excel Spreadsheet that Lists Data By State Make sure that your variable names are along the top row (top 1 row only) and that the state names are down the side column (A). There should be no blank rows above the data and no blank columns to the left.
Side Note: Make sure that the primary key (such as state, county, country etc) that you will be linking to in the map are spelled exactly the same way as in the map. (the next 4 slides review this)
To examine how the data is stored for a layer, right click on the layer, Select Open Attribute Table
Highlight everything (by column) Options, Export, as Text (dbf may work better for your computer) Then you can retrieve these labels and find data that corresponds with them.
2. Setting up your own personal geodatabase which you can use to store all data you would like to map.
Select your H and the Specific Folder you want to put it in.
Right Click in Blank Pane on Right hand side, New Personal GeoDatabase
Skip the next few slides (it seems to work without them) i.e. skip to part 3 of instructions
If it does not appear as in the previous slide, use the following…
You may later find it helpful to shorten the data name here (so variable names are shorter, since this is added to existing variable names). To do this, copy and paste it here and give the pasted version a short name like fhdata.
****Be sure that table name is short and no spaces in it!!!! Or else it won’t convert.
For Input Table, Select the DBF 4 Data you saved in Excel (click the file folder)
4. Adding your Lab 4 data to an appropriate map(this involves joining 2 tables)
Open it, Save as…an ArcMap Document –not template-(pick your own name) in your H Drive
3 SLIDES EXCERPTED FROM HERE BECAUSE NO LONGER NEEDED WITH THIS SOFTWARE UPGRADE