Soldering
Soldering. Melt some metal. Why Soldering?. Build your own components Fix a broken part DIY hardware options You like building/tinkering. Safety First. Always be careful, you are working with extreme heat Soldering irons melt metal They will melt skin


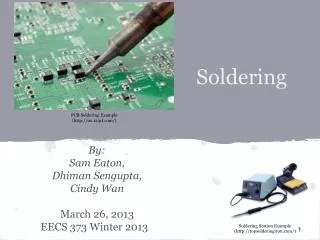
Soldering
E N D
Presentation Transcript
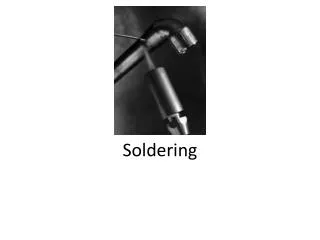
Soldering Melt some metal
Why Soldering? Build your own components Fix a broken part DIY hardware options You like building/tinkering
Safety First Always be careful, you are working with extreme heat Soldering irons melt metal They will melt skin They get very hot and can start fires Never leave a soldering iron unattended
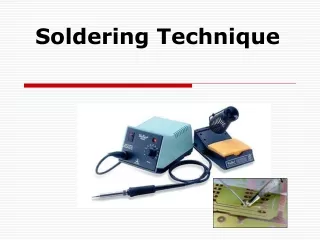
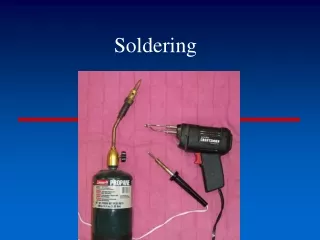
Basic Equipment Soldering iron Tips for the iron Rosin core solder Well lighted work area Clean work area
Soldering Iron Types Basic on/off Basic temperature controlled Digital temperature controlled (the one I use)
Available Tips Conical Spade Chisel I most often use the conical tip when building Christmas DIY projects
Optional Equipment Tip cleaner Extra hands Exhaust fan Magnifying glass Panavise
Panavise Many models Great for holding boards Allow lots of movement
Solder Wire Basics Use rosin core I prefer 60/40 tin/lead solder Size, I recommend .032 (7 or 8mm) Roll size Radio Shack has the small rolls I usually get 1lb rolls
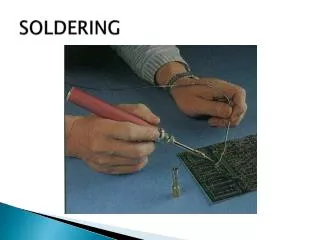
Soldering Process Heat soldering iron Clean tip Tin tip Apply heat and solder to component Touch soldering iron to one side of pin, touch solder to the other side of the pin Allow solder to flow Remove soldering iron briefly and retouch
Helpful Hints Solder most items at about 325° C/620 ° F Larger items or components with heat sinks will need higher heat because they dissipate heat well Bigger items like triacs, turn the iron up to 400° C/750 ° F For triacs it may help to trim the legs to desired length before soldering
Desoldering You will have to do this Desoldering wick Solder sucker Desoldering iron Hot air station
Other Soldering Options Soldering SMT components By hand Reflow/Skillet Reflow/Toaster oven
Practice Options Commercial solder kits DIY solder kits
Website Links • Do It Yourself Lightanimation (wiki and soldering practice kits) • www.diylightanimation.com • MPJA Online (solder station) • www.mpja.com • Solder Station Model 302A - part #15141 (the one I have) • Sparkfun – some good tutorials • www.sparkfun.com
Questions Q&A Demo technique Thanks for your time Presentation available at www.christmasingreatwood.com