Download
1 / 27
270 likes | 364 Vues
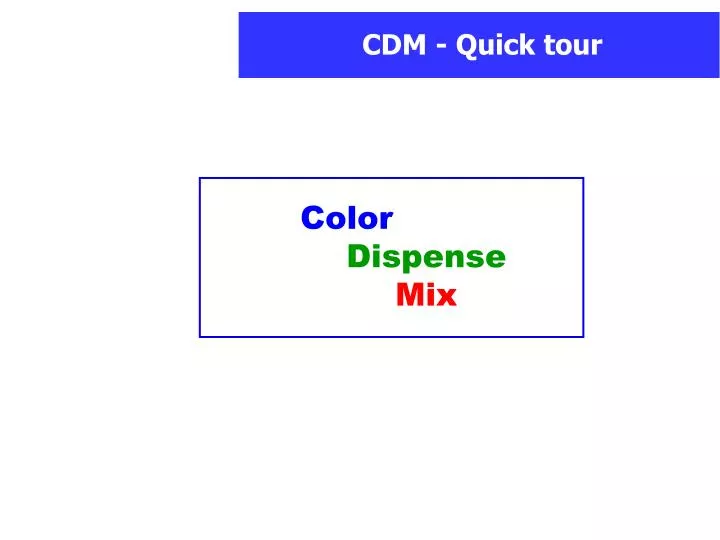
Color Dispense Mix. Welcome in the CDM Quick tour !. This is a starting point before to work with the software itself. It presents you main functions and basic usage of the software. CDM main screen is divided into 3 parts. Menu bar. Working area contains input

E N D
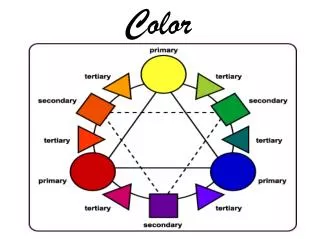
Color Dispense Mix
Welcome in the CDM Quick tour ! This is a starting point before to work with the software itself. It presents you main functions and basic usage of the software.
CDM main screen is divided into 3 parts. Menu bar Working area contains input control depending on the selected index tab. Working area. Status bar.
Click on a tab or use the related function key, to select it. To activate a menu function, click on the menu button, or F11 to activate menu, then the hilighted letter (H for Help...)
Important : to exit software, use ALT-F4 keys combination, then LEV3 as password...
F1 tab is the dialog box to select a tint, using its reference on the color card. Input the reference here, then press Enter key (RAL 9001).
Informations about the founded colors are displayed after searching. The selected color... A list of the color card in which the reference was founded... And a color simulation. The status bar recalls the selected color.
It is also possible to select a manufacturer, then a card, then a tint in a list.
F2 tab : Product and can size selection. ready to be send to the dispenser. The recipe is displayed at once.
F3 : modify recipe... …create from scratch. …change can size.
F5 : Save the modified recipe in a personal file. Two levels selection tree. (folder / file) Customize tint reference, adding notes...
…to be easily retrieved when the customer comes again.
F6 : job list of recipes to be dispensed later... …for multiple cans. Use this button from F2 or F3 tab to store current recipe in job list.
Quick access to the dispenser high level maintenance functions.
Access to a list a extended tools... CDM functions… Access level protected. …or other windows software. Defining hot key for quick access from every place.
Access to a list a extended tools... CDM functions… Access level protected. …or other windows software. Defining hot key for quick access from every place.
Archive tool. To retrieve a dispensed recipe and to dispense it again.
Price tool. To calculate price of the current recipe or define components prices. Possible to define price per group.
Consumption tool. For base... …and colorants.
Mail tool. To request for a recipe.
Backup tool. Full backup/restore tool. For maintenance operations. Daily job backup tool. Main data backup in one click !
Export tool. Export archive data to text files for statistics.
Maintenance tool. Follow-up of the maintenance operations.
Edit label tool. Full customize label from the label editor.
Color Dispense Mix Thank’s for your attention !