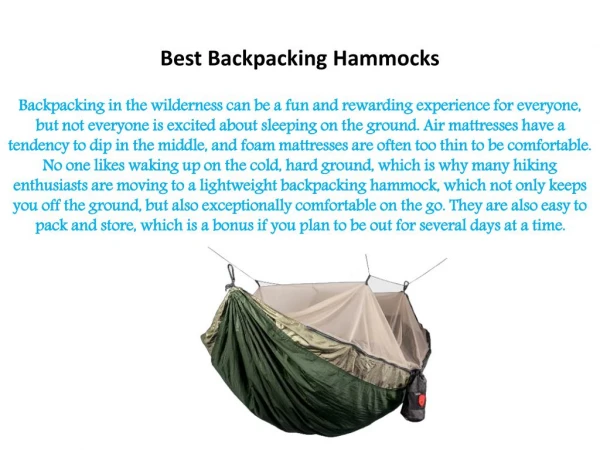
Backpacking
Backpacking. A Guide to the basics. Discussion points. Why backpack Choose a Backpack Backpack Types Weight considerations Putting It All In the Pack Great foods for Backpacking On the Trail Planning. Why Backpack?. Self sufficiency Great exercise Explore the outdoors See nature.

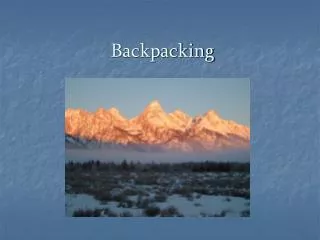
Backpacking
E N D
Presentation Transcript
Backpacking A Guide to the basics
Discussion points Why backpack Choose a Backpack Backpack Types Weight considerations Putting It All In the Pack Great foods for Backpacking On the Trail Planning
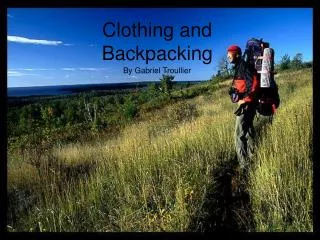
Why Backpack? • Self sufficiency • Great exercise • Explore the outdoors • See nature
Determine backpack size Torso length Choosing the Correct Frame Size Determining Hip Size
Torso length locate your 7th cervical vertebra, tilt your head forward. Beginning at that spot, have your friend use a flexible tap measure to measure downward along your spine. find your iliac crest. Run your fingers down the sides of your rib cage until you reach the first hard spot, this is your hip bone. Place your hands on top with thumbs pointing behind you. This iliac crest serves as the “shelf” of your pelvic girdle. Draw an imaginary line between your thumbs to the point where they met in the middle. Have your friend measure to that point where it intersects with your spine, while still holding the top of the tape on your C7. Once you have finished measuring the distance from your C7 to your iliac crest, you now have your torso length.
Choosing the Correct Frame Size • Extra Small: Up to 15-1/2 inches tall (up to 39 cm) • Small: 16 – 17 1/2 inches tall (40 – 45 cm) • Medium/Regular: 18 – 19 1/2 inches tall (46 – 50 cm) • Large/Tall: 20 inches and up (51 cm and up)
Determining Hip Size • Wrap a flexible tape measure around the top of your hips, known as your “latitude line,” where you can feel your iliac crest. A properly fit hip belt should straddle your iliac crest, sitting about an inch above and below your “latitude line.” This measurement is your hip size. • Small: 22 – 27 inch hip-line (56 – 69 cm) • Medium: 28 – 34 inch hip-line (70 – 87 cm) • Large: 35 – 39 inch hip-line (88 – 100 cm) • Extra Large: 40 – 45 inch hip-line (101 – 114 cm)
BACKPACK TYPES Backpacks fall into three basic __________categories:___________ • Day pack • Internal Frame pack • External Frame pack
Daypacks • These packs are used for single-day hikes, climbs, runs or bike rides. • In general, daypacks are soft-backed or frameless. • Daypacks are lightweight and intended for light loads (10 to 15 pounds). • Good daypacks have hip belts to prevent the load from thumping on your back with each stride.
Internal Frame Packs • These packs are used for bigger, heavier loads (15 pounds and up). • Frames--either aluminum stays or plastic frame sheets are located within the pack bag • When properly fit, they hug the contours of your back, thereby cinching the load in close to your spine.
External Frame Backpacks • Used for big, heavy loads, these packs are best for walking on trails • The pack bag is hung off a simple exterior frame, so the load is positioned farther away from your back. • External frame packs have a higher center of gravity than internal frame packs • It gives excellent weight transfer to the hips and it allows you to walk with a more upright posture • They offer lots of airflow between the pack and your back, great for long, sweaty days
CAPACITY DaypacksSize: Less than 2,500 cubic inches or 40 liters Weekend PacksSize: 2,500 to 3,999 cubic inches or 40 to 65 liters Weeklong PacksSize: 4,000 to 5,999 cubic inches or 65 to 95 litersExpedition PacksSize: Greater than 6,000 cubic inches or 95 liters
Weight Classes • 40-50lbs Traditional Backpacker (25% of body weight) • 10-25lbs Lightweight Backpacker • 10lbs or less Ultralight Backpacker (UL) • 5lbs or less Super Ultralight Backpacker (SUL)
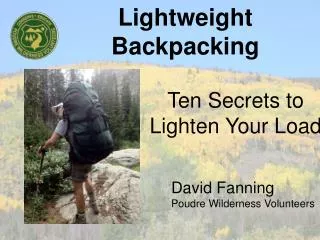
How to save weight • Weigh everything • Reduce big three to less than 9lbs (big three are pack, shelter, and sleeping system) • Eliminate non-essential gear • Use dehydrated food if water is plentiful • Use lightweight flashlights, camp shoes, cooking gear • Boil water or use purification pills instead of filtering • No cook meals or use a fire instead of a stove • Use multi-function gear 1.) Frisbee 2.) Steel cup 3.) Rain poncho 4.) Hiking poles
Eliminate • Zipper pulls • Extra length on straps • Tent stakes • Rain fly • Sleeping pad (use pine straw) • Packaging • Bags and containers
Consolidate, don’t duplicate, and spread the weight • First Aid kit • Cook pots • Tents • Food
Putting It All In the Pack • Always put your heaviest items close to your back, centered between your shoulder blades. • For on-trail travel, place heavy items a bit higher inside your pack. • For off-trail travel, place heavy items a bit lower in the main compartment. • Experiment with different load arrangements to determine what feels best to you. • Rule of thumb, the weight of your load should not exceed 25-30% of your body weight • First aid kit, rain gear, maps, and flashlight on top or convenient pocket. • Water proof • Spill proof
Great foods for BackpackingDon’t get hung-up on labels • Canned meats • Cheese • Crackers • Peanut butter • Raisins • Soup mix • Top ramen • Power bars • Instant oatmeal • Dry cereal • Pasta • Rice • Bisquick (biscuits, pancakes, pot pies) • Potatoes, Carrots, Onions, fresh veggies • Granola bars • Cookies • Fruit fresh or dried • First night: frozen beef, cooked chicken • Precooked bacon 2-3 days • Canned bacon • Eggs can last weeks • Pasta
On the Trail • Lead and tail trekker • Always stop and regroup at any fork in the path • Sing songs/ play games on the trail • Frequent and regular breaks • Avoid hiking at night except on improved trails • Check feet /use mole skin before blisters form • Dress in Layers. Use well worn Boots
Planning • Determine how far you would like to hike. • Determine patrol meals or everyone for themselves • Pick a trail based your abilities (maybe a warm-up day hike) • Get maps of the trail • Determine in and back out or end to end • Plan a shake down, fitting, and weighing a week prior to the hike. • Leave copy of trip plan with responsible adult. • Check the forecast • Have a back-up plan in case of bad weather
Where to Go? Providence Canyon State Outdoor Recreation Area 7 mile backcountry trail overnight camping $9 per Florida Trails Association Apalachicola East/west Blackwater North/South Chipola Econfina Creek Econfina River Eglin East/North/West Hinson Nokuse Pinelog Seashore Torreya State Park 7 mile loop with primitive sites Appalachian Trail 2200 miles Georgia – Maine Philmont Scout Ranch is 214 square mile of land to explore.