Enhancing Stereotypes and Methods in Class Diagrams for Use Case Realizations
This guide outlines the steps to enhance UML class diagrams by adding stereotype options for controller and user interface classes. It covers the process of creating class diagrams, defining domain classes and their methods, and designing sequence diagrams for specific use cases. Key aspects include adding constructor and update methods to domain classes, implementing message flow between classes, and organizing the class structure to maintain cohesion. This ensures a clear representation of interactions and responsibilities according to the use case.


Enhancing Stereotypes and Methods in Class Diagrams for Use Case Realizations
E N D
Presentation Transcript
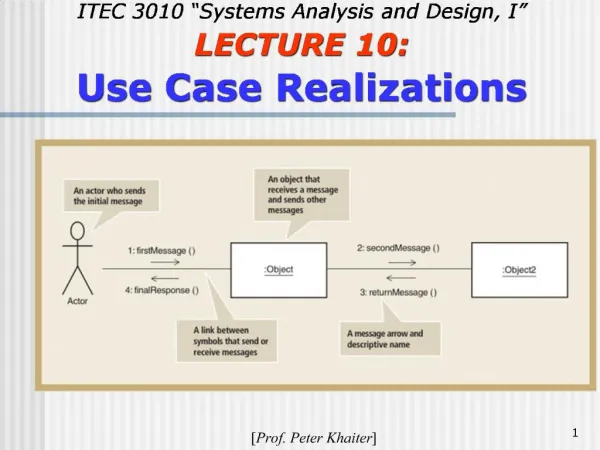
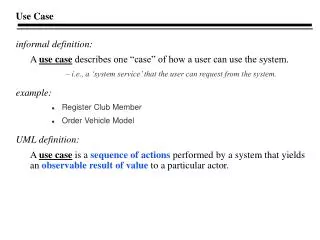
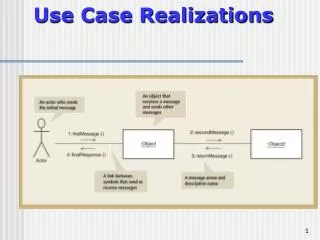
USE CASE REALIZATIONS CIS 480, Spring 2012
Adding Stereotype Options • We need to add options (Controller and User Interface) to the stereotypes available for our classes • Click on the UML tab at the top of the page • Then Click on the Stereotypes Icon
Adding Sterotypes (Continued) • Click new on the Dialog box that appears, then • Type in the name under the Stereotype column and • Select Class under the Base Class Column
Class Diagram Update • Create a class Diagram for the classes involved in the target Use Case(s) • You can drag and drop the classes involved • Add a controller class (or more than 1 if needed) • Be sure to specify the Controller Stereotype when creating • Add visibility links showing which classes need to know about other classes • You can use the Dependency link symbol in the class model for this
Adding Methods to Domain Classes • For each of the domain classes add • Constructor method(s) • One constructor for each set of data that might be used to initially create an object of this class • Add Update methods (Think Property with a Set Method in C#) for each Attribute that users will be able to update • Add any additional methods that you know will be a responsibility of the class based upon the use case description
Adding Class Methods • You may add class method(s) to return an array of object instances of the class • E.G. the Professor class could have a getProfessors method that returns a set of professor IDs and Names • Alternatively, a separate collection class could be used for this.
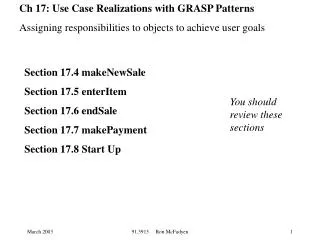
Design Sequence Diagrams • You will create a sequence diagram for each use case in order to achieve the Use Case realizations described in your text. • Start by adding instances of the domain classes needed for the use case and its controller class • Leave room on the left side of the diagram for the actor and UI classes (to be added later) • Arrange you classes from left to right starting with the controller and then the 1st domain class accessed, etc.
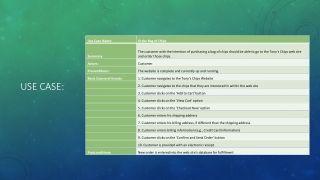
Adding Messages • Review the Use Case Description • Determine what the controller needs to respond to the first user request • Add the set of messages and responses needed to achieve the needed response • Use existing methods (Operations) where they are available • Add new Operations when necessary (They will be automatically added as methods of the receiving object’s class)
SHOWING LOOPS ETC. • VISIO does not provide loop and alt frames that look like those in your text. • We will use the 2-Element Constraint link to designate Repetition (Loop) structures and • The Or Constraint link to designate if logic
Use the 2-element Constraint for Denoting Loops in your Design Level Sequence Diagram
Making name visible on 2-Element Constraint • The name of a 2-element constraint is not visible by default. • You will need to right click on this link and select Shape display options. • Then check the checkbox next to name on the dialog that appears & click OK
Adding Front End • Once the Business logic has been captured between the controller and domainn (entity) classes, • Add the actor and the user interface class(es) • Add appropriate messages. • Actor interacts only with User Interface Classes • User Interface Classes interact only with the Actor and with the Controller class.
ADDING DATA ACCESS CLASSES • We will not be adding the Data Access classes, but you should note that they would be add on to the right side of the diagram at this point. • Starting with the Controller and Domain classes 1sthelps with keeping the front end UI classes as cohesive and decoupled as possible.