Download

1 / 15
150 likes | 252 Vues
Learn how to send emails using Blackboard Academic Suite with detailed instructions and screenshots. Access email features, select recipients, compose messages, and send with ease.

E N D
BLACKBOARD EMAIL Instruction for sending E-mail using Blackboard Academic Suite.
PRESENTED BY Sierra Charon, Daniel Brimer, Philippe Bissohong-Ngue, and Chris Sniegowski
Introduction Blackboard allows you to send email to individuals in your classes. This tutorial will guide you through sending E-mail in Blackboard.
ACCESSING E-MAIL Blackboard Academic Suite
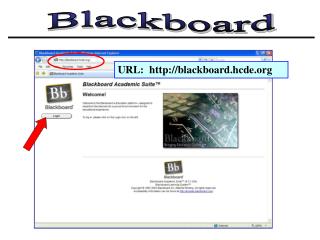
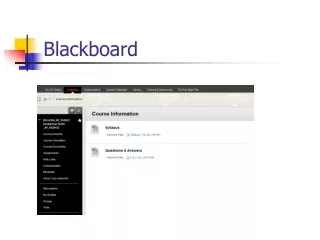
To access the “Send Email” feature, log into Blackboard and click on “Send Email.” The Send Email feature is located in the “Tools” sub-menu on the left side of the webpage.
SENDING E-MAIL Blackboard Academic Suite
Your Blackboard page should now resemble the image below. It should show the courses that you are participating in. However, not all professors use Blackboard; if a course you are enrolled in is not available, check with your professor to find out if they use Blackboard.
Step 1: Select a course that you would like to send out an email for. You are now presented with the following screen.
Step 2: You are now presented with a list of options. You can choose to send email to the following recipients: • All Users – email is sent to every person in the course; instructors, teaching assistants, and students • All Groups – email is sent to all defined groups in the course; this may include not only students, but instructors and teaching assistants as well. • All Teaching Assistant Users – email is sent to all teaching assistants for the course. • All Instructor Users – email is sent to all instructors for the course. • Select Users – allows you to send email to users by selecting individuals from a list of users enrolled in the course. • Select Groups – allows you to send email to all individuals in a defined group for the course.
Step 3: If you choose to send email to All Users, Groups, Teaching Assistant Users, or Instructor Users, refer to the following instructions. • Click on All Users, All Groups, All Teaching Assistant Users, or All Instructor Users to send your email. • Your screen should resemble the following screen.
In the “To” field, you should see the name of the person to whom you are sending the email. • In the “From” field, you should see your email address. • Fill in the “Subject” field to properly title your email. • Fill in the “Message” field with your intended message.
If you have any files that you would like to send, click the “Add” button under the “Add Attachments” section. • When you are finished with entering information, click the “Submit” button in the lower right corner of the screen. This will send your email to the selected recipient and a copy to your email address. • If you choose to not send the email, click the “Cancel” button. This will take you to the previous page.
Step 4: If you choose to send email to Select Users or Select Groups, follow the following instructions. • Click on Select Users or Select Groups to send your email. • Your screen should resemble the following screen.
Instead of a list of names, there will be check boxes with either names of people or groups. You can click the boxes next to the name or group to select them to receive your email. • In the “From” field, you should see your email address. • Fill in the “Subject” field to properly title your email. • Fill in the “Message” field with your intended message.
If you have any files that you would like to send, click the “Add” button under the “Add Attachments” section. • When you are finished with entering information, click the “Submit” button in the lower right corner of the screen. This will send your email to the selected recipient and a copy to your email address. • If you choose to not send the email, click the “Cancel” button. This will take you to the previous page.