HOW TO CREATE A POWERPOINT PRESENTATION
HOW TO CREATE A POWERPOINT PRESENTATION. 1. RESEARCH. It doesn’t matter how great your presentation looks if there’s no information in it!. 2) PLAN.

HOW TO CREATE A POWERPOINT PRESENTATION
E N D
Presentation Transcript
1. RESEARCH It doesn’t matter how great your presentation looks if there’s no information in it!
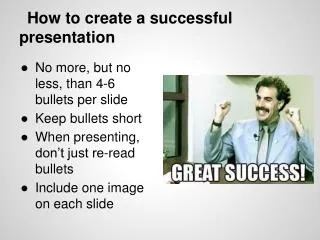
2) PLAN • Write an outline of what you will include. This can be just a few notes, or something more elaborate; it should give you a way to order your information so that it will make sense to your audience. Generally, no more than 2 sentences per slide is a good idea. • Figure out what images, music, film clips, etc. you will use. Note these in the outline as well.
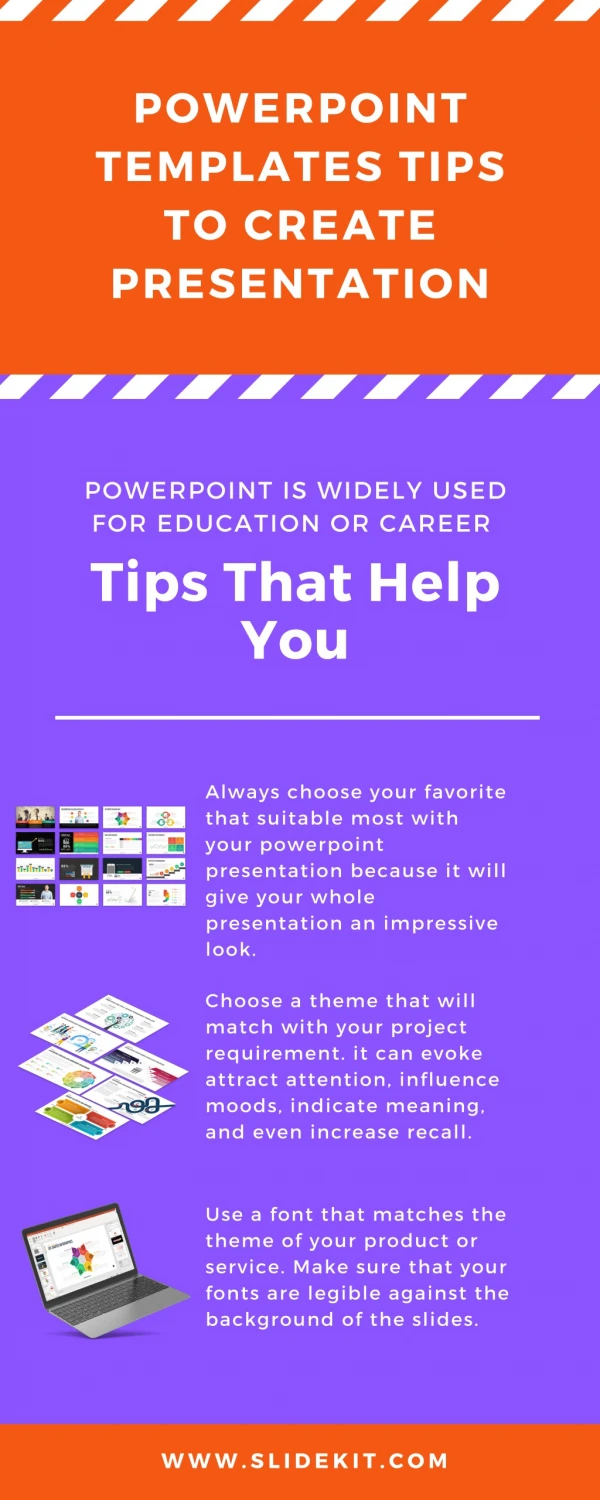
3. DESIGN Choose a color scheme and layout: use a built in set, or download from a free site like brainybetty.com. Choose a template which suits your use: for viewing on a computer screen, a light background with dark type is easier for the viewer to use; for a wall screen, a dark background with white or yellow text is best. Avoid complicated and hard to read fonts. Times New Roman is a sure winner, and fonts with serifs are always better than those without.
This is the way the first slide comes up when you start a new presentation. Note the areas for title and subtitle.
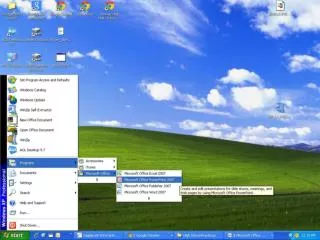
This will open a bar at the top with theme choices. Each will have different colors and fonts assigned.
ADDING A SLIDE METHOD 1- CLICK IN THE SLIDE SORTER BOX ON THE LEFT, AFTER THE CURRENT SLIDE OR ABOVE THE DESIRED LOCATION OF THE NEW SLIDE, THEN STRIKE ENTER METHOD 2- IN SLIDE LAYOUTS, CHOOSE “INSERT A NEW SLIDE” ON THE LEFT HAND SIDE, THEN CHOOSE THE DESIRED LAYOUT
BEGIN ADDING TEXT NOW IT’S TIME TO ADD THE TEXT. . RULE OF THUMB: DON’T USE MORE TEXT ON YOUR SLIDE THAN YOUR AUDIENCE CAN EASILY READ IN ABOUT 30 SECONDS– USUALLY 2 SENTENCES AT MOST.
USING YOUR OUTLINE, BEGIN TO ADD INFORMATION TO YOUR PRESENTATION. YOU CAN EXPLORE DIFFERENT LAYOUTS BY CLICKING THE TAB AT THE TOP WHICH SAYS “SLIDE LAYOUTS”
VARY YOUR SLIDES! ALTHOUGH THE TEXT SHOULD BE UNIFORM FOR A PROFESSIONAL LOOK, TRY TO HAVE A GRAPHIC ON MOST IF NOT ALL OF YOUR SLIDES. THE GRAPHIC SHOULD GO ALONG WITH THE INFORMATION FOR THAT SLIDE
INSERTING A PICTURE METHOD 1: DRAG IT ON FROM THE SOURCE
METHOD 2: USE THE “PICTURE” ICON AND CHOOSE THE PICTURE FROM A SOURCE ON YOUR COMPUTER, OR FROM THE GALLERY OF MICROSOF T CLIP ART
ANIMATING TEXT BLOCKS TEXT BLOCKS CAN BE ANIMATED TO ADD VISUAL VARIETY. THE TRICK IS TO AVOID DOING THIS TOO OFTEN- WHEN OVERUSED, IT IS ANNOYING.
SIMPLEST METHOD • To animate a text block, right click or control click the block after it is typed in, then choose “Custom Animation”
CUSTOM ANIMATION DIALOG BOX
Summary: Have fun, be creative, but remember– the point is to teach your audience about your topic. Be sure that your presentation is interesting, and that it answers all your audience’s questions. USE THE NOTES BOX! The best way to keep the attention of your audience is to look them in the eye while you are speaking.