Download
1 / 47
620 likes | 1.77k Vues
Evidence Collection and Crime Scene Investigation. Evidence. Objective : Differentiate between the different types of evidence Do Now : Is blood evidence 100% conclusive? . Locard’s Exchange Principle.

E N D
Evidence Objective: Differentiate between the different types of evidence Do Now: Is blood evidence 100% conclusive?
Locard’sExchange Principle “When a person comes into contact with an object or another person, a cross-transfer of physical evidence can occur.”
Types of Evidence Direct: firsthand observations (eyewitness account, video camera, confessions) shows that something is a fact without inference or presumption
Types of Evidence • Circumstantial: indirect evidence; implies a fact, but does not directly prove it requires making an inference Trace Evidence: • Physical – bullets, weapons, impressions • Biological – body fluids, plant parts, hair
Trace Evidence Small but measurable amounts of physical or biological material found at a crime scene
Examples of Trace Evidence • Hair • Fibers • Soil • fingerprints • Body fluids (semen, blood, saliva, mucus) • Paint chips • Broken glass • Chemical residue
Class Evidence Narrows identity to a group of persons or things Example: blood type Individual Evidence Narrow identity to a single person or thing Example: fingerprint Categories of Evidence
Your Task In your groups complete “Identifying types of evidence” activity.
Closure Identify what evidence you can collect at this scene State whether its biological or physical then state if its class or individual.
Objective: Problems with evidence collection Do Now: Can you convict someone on circumstantial evidence alone?
Case Study http://www.youtube.com/watch?v=dr6uTw2Eh6M Complete the case study on OJ Simpson
Objective: Observe Locard’s Principle Do Now: What led to OJ Simpsons acquittal?
Objective: proper evidence collection techniques Do Now : What is trace evidence?
Your cloth swatches go in ziplock bags (number them with CS#) Analyze each with magnifying glass etc. and take notes/observations. Obtain a crime scene evidence bag from Mr. Palermo Analyze the sock in evidence bag and match it to one of the crime scenes based on your notes/observations
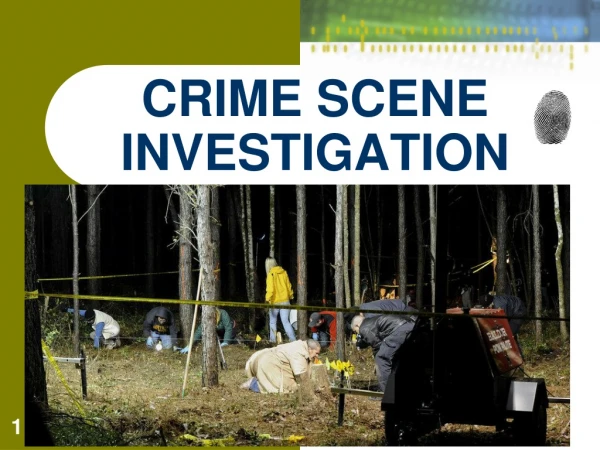
Objective: how to process a crime scene DO NOW: Why is it important to photograph a crime scene?
The Crime Scene Investigation Team Who is at the crime scene? • Police and possibly a district attorney. • Crime scene investigators. • Medical examiners. • Detectives. • Specialists.
The Seven S’s of Crime Scene Investigation Secure the scene. Separate the witnesses. Scan the scene. See that photos are taken. Sketch the scene. Search for evidence. Secure the collected evidence.
2. Separate the Witnesses Do not allow witnesses to talk to each other Witness accounts will be compared Avoid witnesses working together to create a story Asked: who, what, where?
3. Scan the scene • Determine primary and secondary crime scenes • Primary: where murder took place • Secondary: where corpse was found • Where should photos be taken? • Wear protective gear to prevent contamination of crime scene
4. See that photos are taken Show the scene exactly as it was when you first saw it If something was moved before you arrived, don’t try to reconstruct the scene – just take the pictures the way you see it Be careful not to destroy any evidence while taking photos
Overall Shots – Outside the Scene Outside science office First shot entering door: Exit (door)
Evidence: Knife (possible weapon) Midrange Photo Close-Up (with ruler)
5. Sketch the Crime Scene Make accurate rough sketch Note direction (N) and scale of distance Include relevant objects (body, doors, windows, furniture, immovable landmarks) Make final copy for court
6. Search for evidence • Grid, strip or lane, spiral search pattern • Use flashlight to find hair and fibers • Use forceps, vacuum cleaner to collect evidence Grid Strip or Lane Spiral
7. Secure the Evidence Properly package, seal, and label ALL evidence! Liquid: airtight, unbreakable containers Wet items (biological): dry out in breathable container Dry item: bindle plastic or paper container Seal with tape and labeled with pertinent info
The Chain of Custody In order to present credible evidence in court, a chain of custody log is essential. (in real life there is more involved but for this class do as follows) Bag evidence (seal, sign and date) Fill out evidence log every time you open it.
Processing the crime scence http://www.youtube.com/watch?v=ur1GxXZGnNI
Objective: Sketch a crime scene DO NOW: What happens if the chain of custody is broken for a piece of evidence?
Rough Sketch Questions Using the rough sketch complete the questions.
Lab Sketching the Crime Scene • In your groups complete the lab on sketching the crime scene. • Divide up the work. Have some members: • Take measurements • Sketch
Objective: finish crime scene sketch Do now: Why does each piece of evidence have 2 measurements going to it? (triangulation) Quiz tomorrow on units 1 and 2 (look over your notes)
Objective: finish crime scene sketch • Make sure that you have done the following: • 1 rough sketch • 1 final sketch (scaled) • Each piece of evidence has 2 measurements going to it • Key or legend • North indicated on sketch • Location, date of drawing
Objective: Case Study DO NOW: In your crime scene sketches, why is it important to show which direction North is? Hand in crime scene lab
Objective: Case Study Complete the woodchipper case study.
Conclusion What was the outcome of the case?