Efficient Warehouse Requisition Creation Process
Learn how to create warehouse requisitions effectively using step-by-step instructions. Follow the guide to streamline and organize your procurement process.

Efficient Warehouse Requisition Creation Process
E N D
Presentation Transcript
1. 2. • Find the shortcut on your system and open the program. • This screen will open, type in your User ID • Insert password for our school site/department.
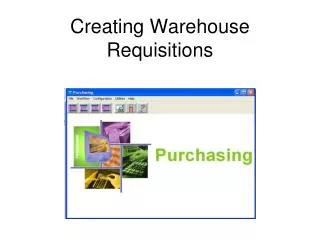
3. 1. Open the purchasing icon 2. Click the Req button 4.
1. Highlight the “New Requisitions” area. 2. Right click in this area and select add. 5. 6.
7. 1. A blank screen will come up. Select- Stores Requisition.
8. Enter all the information listed below. 1. 2. 4. 3. • Description • Requestors Name • Location • Types of Goods and Services (select warehouse requisitions)
9. Click shipping tab. Click Ship To: and locate your site in the drop down menu and select.
10. Save Click the requisition tab, to return to that screen
11. 1. Click item/accounting tab
12. 1. Click Add Item Line
13. Click the Stock# a drop down menu will appear. Select product needed from the drop down menu.
14. Enter the quantity needed. The system will automatically plug in the pricing for you. Repeat and add lines as needed. You can add up to 99 line items.
15. Click add Accounting Lines. Click Search Accounts. Type in (01) Fund, (4370) Object and your Site Code. Click Search Highlight the account line and click Select.
16. Click Distribute Evenly (this charges the specified budget) Click Ok
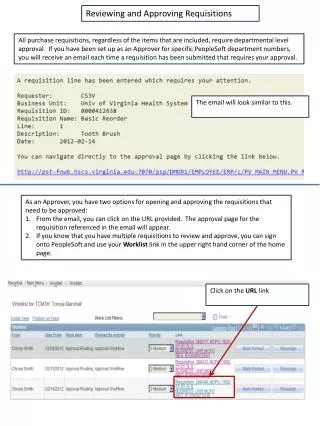
17. Highlight the requisition and right click. Choose “Send for Approval”
18. Click apply. Once you click “Apply” the requisition will leave your work flow and go to the first person listed in the approval path