Download
1 / 23
230 likes | 248 Vues
Learn how to customize your Facebook store and enable PayPal payments for your online store. Follow step-by-step instructions to move the Click to Shop tab, administer your store using the SalesCart app, and add your mobile store link to your Facebook page. Customize your products and categories, change the store title, and enable PayPal payments to streamline your online sales.

E N D
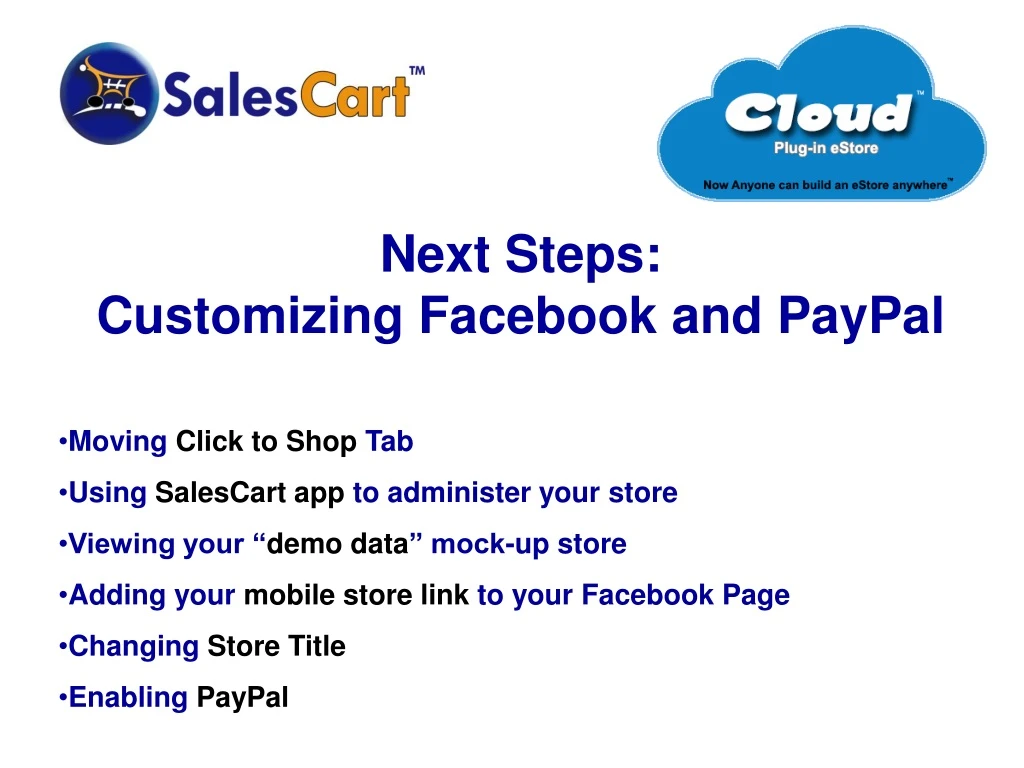
Next Steps:Customizing Facebook and PayPal • Moving Click to Shop Tab • Using SalesCart app to administer your store • Viewing your “demo data” mock-up store • Adding your mobile store link to your Facebook Page • Changing Store Title • Enabling PayPal
Customize Your Products and Categories By default, a “demo” store with demo product data is displayed. Customize the category and product for your company by Editing the existing data before addingnew data.
Customize Your Products and Categories Refer to video: Customizing Products & Categories to learn how to customize your products
Click to Shop: Move Tab By default, the Click to Shop graphic shows up in Facebookbut the Click to Shop! Tab is hidden under the More▼dropdown. You need to move this.
Move Click to Shop Tab (cont.) • SelectMore▼ then Manage Tabs • SelectClick to Shop!, with mouse tab held down, drag to the top, then release mouse tab • PressSave
SalesCart App to Administer Store You will go to the Facebook SalesCart app to do everything: administering your store, administering your products, reviewing your orders
SalesCart App to Administer Store • You can get to the SalesCart app at any time, by clickingHome in Facebook • Then select the SalesCart App
Add your Mobile Store into Facebook • Click on the SalesCart App in Facebook • Click on the Visit Cloud Store button under Store Actions
Add your Mobile Store Link (cont.) • Highlight the URL for you cloud based store. Copy it. • Then open your browser and visithttp://tinyurl.com/.Paste the URL for your cloud based store, obtain the corresponding Make TinyURL
Add your Mobile Store Link (cont.) • Return to your Facebook store page, go to About on the left side of Facebook Page, hover over pencil and selectManage, then Edit • Edit the Long Description and add your tinyurl with a call to action. • You can also make a post to your page and pin it to the top.
Disabled Store By default, your mock store is immediately displayed If your have disabled your store from showing live, when you press Click to Shop! You will see this message instead! To Enable the store click on the Link.
Make Store display Active (cont.) • To Enable an inactive store, click on Edit • Then toggle the Store Active? Checkmark • Then selectUpdate where Edit was
Store Title By default, your store is titled “Demo Store”. This needs to be changed.
Changing Store Title (cont.) • In your Administer Store Display. Click on Profile>>Your Store.Click on Load next to the store you want to load. The software responds: License loaded!
Change Store Title (cont.) • Click on Profile>>Your Store>Manage Store Display. • Find the field that says “This is the Name of your Store”, and pressChange. • Change the Action/Value to what you want your Store Name/Title to display and pressUpdate.
Changing Other Values You can experiment and change other values too. For example, the Toggle to Show Whats New Link will turn off the What’s new from the top of the store display.
Enabling PayPal You need to Enable PayPal so it will accept payments from SalesCart • Click on Store>>Processing, and then press the Edit Button. • Go to the field PayPal Merchant Email and change the email to your PayPal Email. The PressUpdate.
Enabling PayPal (cont.) • Log into your Business PayPal account. Click on Profile>>My Selling Tools
Enabling PayPal (cont.) • Scroll down to API Access. Click on Update
Enabling PayPal (cont.) • Scroll down and click on Add or edit API permissions
Enabling PayPal (cont.) • Click the button labeled Add New Third Party. • Enter: paypal_api1.salescart.com, PressLookup, Check the box Express Checkout and Submit the permissions.
Credits Music:“Jardins du Luxembourg” (by Jahzzar)http://freemusicarchive.org/music/Jahzzar/Paris_Lisboa/Jardins_du_Luxembourg
Credits The End Thanks for watching